Art ProjectsAll Ages2 Comments
Welcome back, Jane from Mama Pea Pod!
Way back, when It’s Playtime was new (this week we’ve done it 20 times already!), I found this fun filled blog called Mama Pea Pod and asked her right away to guest post on hands on : as we grow. It was around Easter, and Jane got artsy with some plastic eggs!
Jane’s back again, and this time she’s getting artsy with some t-shirts! This is such a cool concept, I can’t wait to get the Sharpies that Klout is sending me!
I also want to mention that Mama Pea Pod (along with two other fantastic play bloggers) hosts an Outdoor Play linkup party for all fun that is had outdoors! Get inspired and take your kids outdoors!
Mama Pea Pod is here to show how to make some Tie-Dyed T-Shirts with permanent markers!
Hello lovely people, I’m Jane from Mama Pea Pod, and I’m back guest posting here at hands on as we grow again. Thanks so much to Jamie for having me back!
I am a mother, teacher, and endorser of play time! I want to savour the time I have with my two little peas (aged 4 and 1), by playing, creating, learning, and getting outdoors with them!
Come on over to Mama Pea Pod to join in the fun with us!
Looking for a fun, creative activity to do with your family?
Here’s one that’s also a great way to upcycle an old t-shirt, or even to fancy-up a new, plain one: Try making these DIY Tie-Dyed T-Shirts!
They’re fun, easy, and cheap!
We followed the instructions I found here.
All you need are permanent markers (you can get them at your local dollar store), rubbing alcohol, and a dropper (we bought some on sale at Michael’s but you could use an old baby medicine dropper).
And some plain t-shirts.
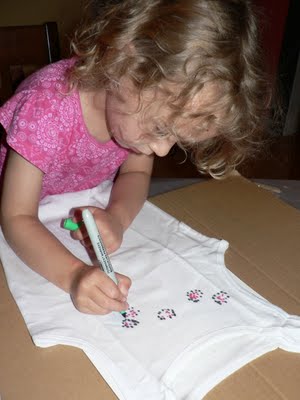
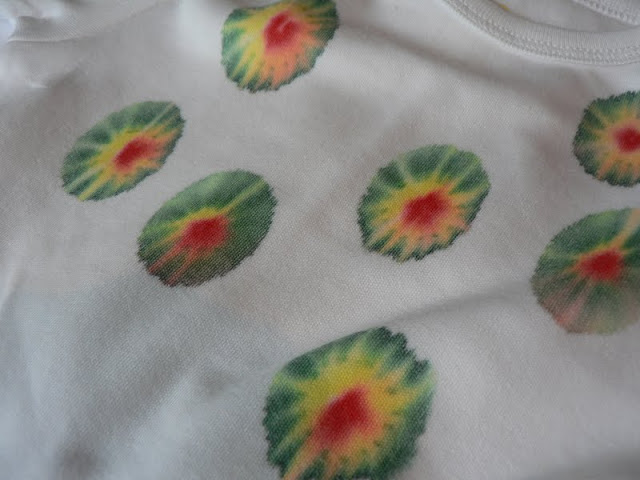
First we drew a circle of dots, then another circle of dots around it in a different color, and then another around that (you could keep going as many times as you like, really).
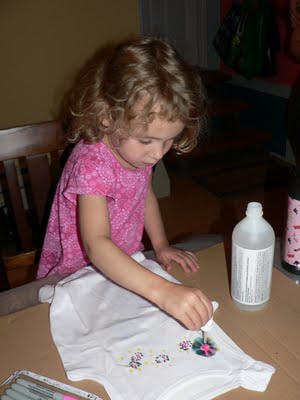
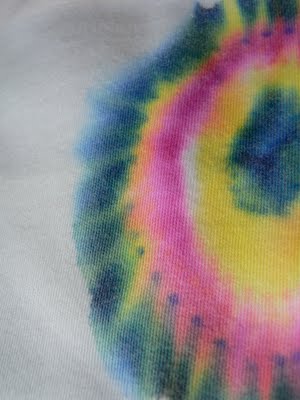
Then we used the dropper to add a squirt of rubbing alcohol in the center. As the alcohol is absorbed into the fabric, it catches the colors and they bleed outwards in a circle.
That’s it!
Tips:
- Put a piece of cardboard inside the shirt so the colors don’t bleed through to the back side.
- And hang them up to dry so that the front and backs don’t touch (we hung them over lamps).
- Then I ironed them to set the colors. I don’t think I did that very well, though.
- The lighter colors (yellow and, to a lesser extent, the pink) did wash out somewhat.
- The dark colors stayed better.
- The instructions we used suggested that cheap-o markers worked best for ‘bleeding’, but perhaps real Sharpie markers would have had better staying power. If you try it, let me know!
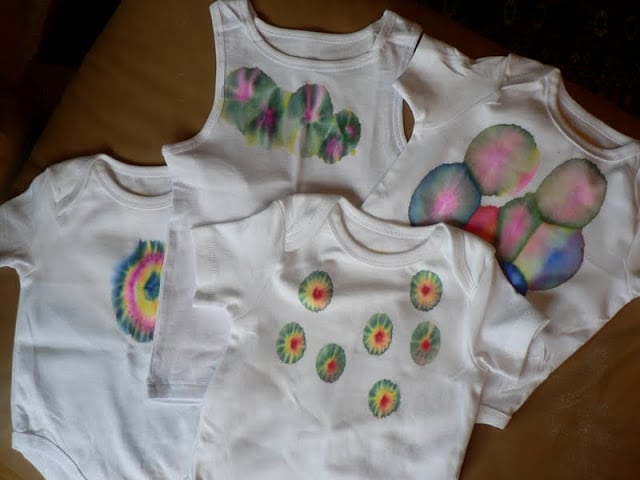
And here are the results – pretty darned fantastic, if I do say so myself!
If you give it a try, I’d love to hear how they turned out! You can leave me a message on my blog, or find me on Facebook, Twitter, or Pinterest. So do come over and say hello!
![]()
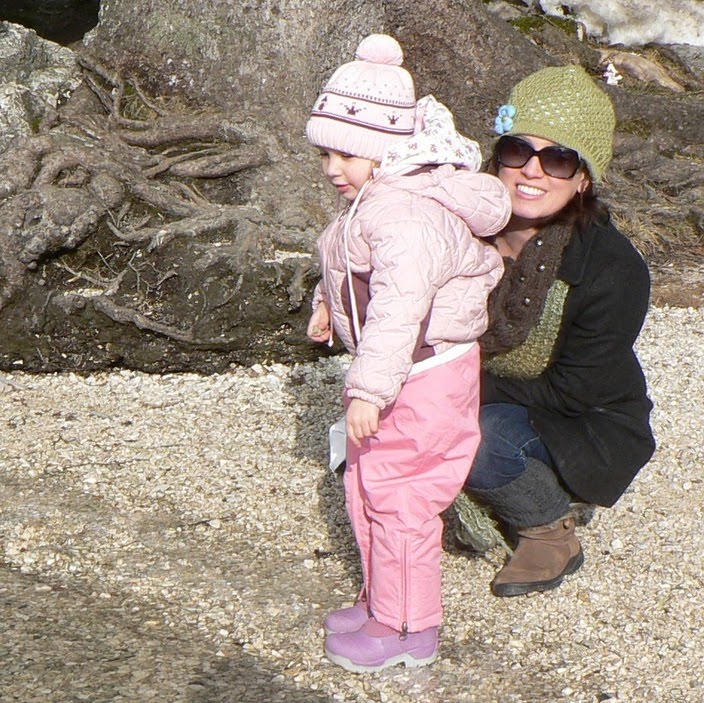 I am a mother to two young girls, a preschooler (‘Princess Pea’) and a baby (‘Sweet Pea’). (In my working life, I’m also an elementary school teacher.) My daughters are my pride and joy, as well as my trials and tribulations! Parenting is hard work! Not that we expected it to be easy. And not that we’re complaining. It just is. But there really is no better or more important job in the world, one that brings so many wonderful moments each day and memories that we’ll cherish forever!
Want to get in on the fun too?
Mama Pea Pod’s main man got artsy too! Her original post shows some additional pictures.
WANT TO SAVE THIS ACTIVITY?
Enter your email below & we'll send it straight to your inbox so you can access this activity later! Plus, you'll get simple activities from us every week!
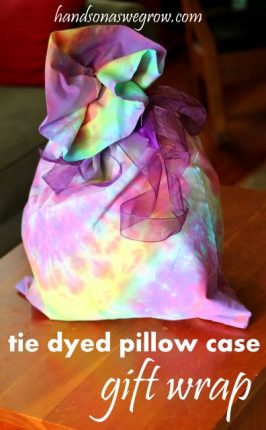 Tie Dyed Pillowcase Gift Wrap
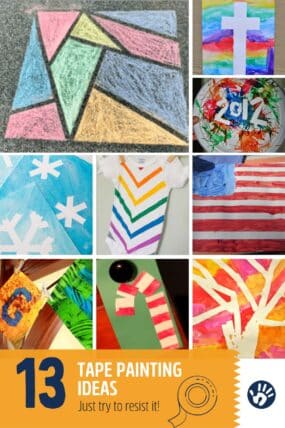
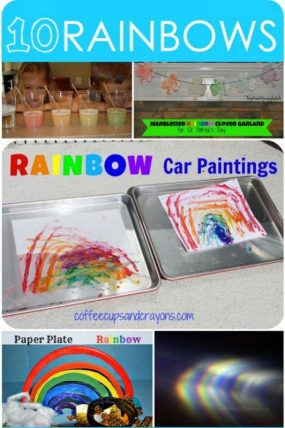 11 Colorful Rainbow Activities for Preschoolers
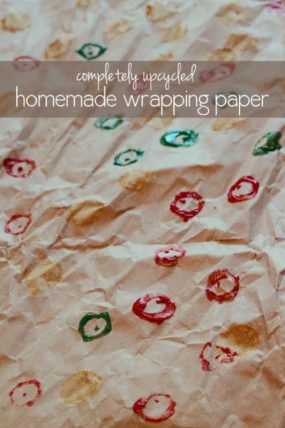 Completely Upcycled Homemade Wrapping Paper for Teacher’s Gift

Melissa @ The Chocolate Muffin Tree says
WE so need to try this soon!….been seeing it everywhere and we have all the materials….so why not?
Rachel@I Heart Crafty Things says
How fun! Love this idea!