
Remember our tie dyed pillowcase gift wrap?
I added to it for a special little girl’s birthday gift! I used this rather cool fabric paint called DecoArt Ink Effects that irons on whatever you paint!
I’ll show you the simple how-to [though, its pretty easy, so there’s not really much to show you!].
And the best part is that its not all crunchy and crisp like most iron-ons that you find. So its perfect for a pillowcase that delicate little heads will be sleeping on!

Design it!
Figure out what you want to make. What kind of fabric you want it on. And make a design. Either sketch it out, or plan it in your head. Whatever works best for you.
My first design didn’t pan out. I wanted to decorate those canvas storage cubes for the toy room. Turns out that those cubes are a coated canvas and it just melts when you iron them! So that’s a no-go!
But, I do have these butterfly stencils that I used to trace onto paper.
That’s all it takes, just regular old printer paper, or whatever you have! Nothing special.

I chose three of the Ink Effects colors to paint my design to coordinate with the already tie-dyed pillowcase.
I ended up painting three coats to make sure it was solidly covered. The photo below is after one coat of paint and you can see the brush strokes.

Note: the paint dries [and paints on] a color slightly different than what it will show up on your fabric. Use the color dot on the bottle as a guide.
After I was satisfied with the coverage on the paper and the design was completely dry, I cut the butterflies a part and laid them out on the fabric, in my case, our pillowcase. Keep in mind that if you’re laying them right side up [like I have here] they will be reversed when you iron them on. I wasn’t that picky since letters weren’t involved.

Note: If you’re working fabric that’s 30% cotton or more, you absolutely need to use the Ink Effect Basecoat. Spray it onto your fabric liberally and let dry. Make sure to get the edges well. [You may want to protect the surface around your fabric.] I didn’t get my edges covered as well as I liked with the Basecoat and could definitely see a difference when I ironed it on.
Iron it!
Simple. Flip over your design so the paint is on the fabric and iron for a good minute or so. Have your iron cranked up as high as it can go.

As I was ironing, I periodically checked the design to see how it was transferring by carefully lifting an edge.
It should appear as a bright, solid design.

Continue ironing your entire design!

Use it!
Time to use the pillowcase! Enjoy!
Allison at No Time For Flash Cards made a completely awesome, washable place mat using these fabric paints! I’m so jealous I didn’t think of it. But now I’m gonna have to make it! I love the ABCs on it!
I’m heading over to DecoArt Ink Effect’s Facebook page to share them what we created. I invite you to do the same!
- Facebook: DecoArtAcrylicPaints
- Pinterest: decoart
- You Tube: DecoArtPainter
I wrote this post, and received the product, as part of a paid campaign with DecoArt Ink Effects and Blueprint Social. The opinions in this post are my own.
WANT TO SAVE THIS ACTIVITY?
Enter your email below & we'll send it straight to your inbox so you can access this activity later! Plus, you'll get simple activities from us every week!
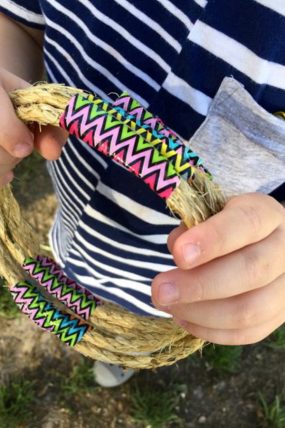 Super Fun DIY Nature Ring Toss Game for Kids
 Playtime Series : Quirky Momma
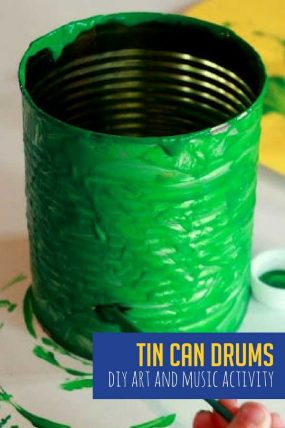 Super Simple DIY Tin Can Drums for Kids to Make


amber says
This is super adorable! I am going to be doing these with my kids here soon. Thanks for the creative inspiration!