Activities
Crafts
Mother's Day4 Comments
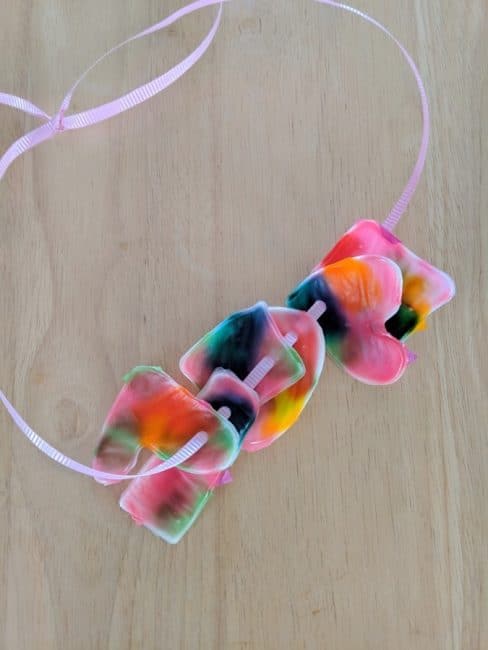
Make a simple, easy Mother's Day charm necklace craft, from Alisha, that's a great kid-friendly DIY!
Wanting to make homemade Mother’s Day gifts this year, but out of ideas? I love this simple and fun glue charm necklace craft!
It’s a gorgeous, wearable gift that’s perfect for the mothers and grandmothers in your life.
Try even more DIY Mother’s Day gifts featuring flowers!
Gorgeous and Fun DIY Charm Necklace Craft for Mother’s Day
The process for making these charms if pretty simple, but does take a little time for prep and then for drying. So I recommend making these a few days before they need to be ready.
To make your own custom charm necklace craft, you’ll need:
- Wax paper
- White school glue
- Tissue paper, torn or cut into small pieces
- Scissors
- Hot glue gun & glue
- Ribbon or yarn
- Hole punch
- Optional: colored beads

Make Your Own Creative Charm Necklace Craft
While your glue gun heats up, tear off a good sized piece of wax paper and lay it on a hard surface – wax side up. Make sure you pick a surface that can get hot from the glue gun.
Use the hot glue gun to create outlines of shapes and squiggles. We made some circles, hearts, triangles, squares, diamonds, and a design shape too.
Need help getting started? Check out how we made a sensory hot glue shapes board!
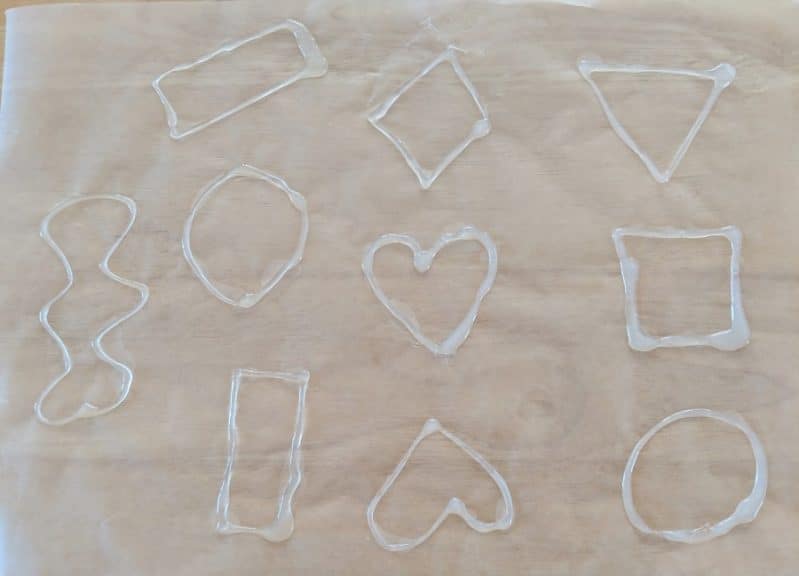
Once you have made as many charm outlines as you’d like, let them cool and harden.
The hot glue shapes are an outline for the actual glue charms.
Add a Little Color to Your DIY Charms
When the hot glue is hardened, it’s time to fill up the charms. My kids loved this part because they were able to turn the glue bottle upside down and let the glue flow out as fast as it could.
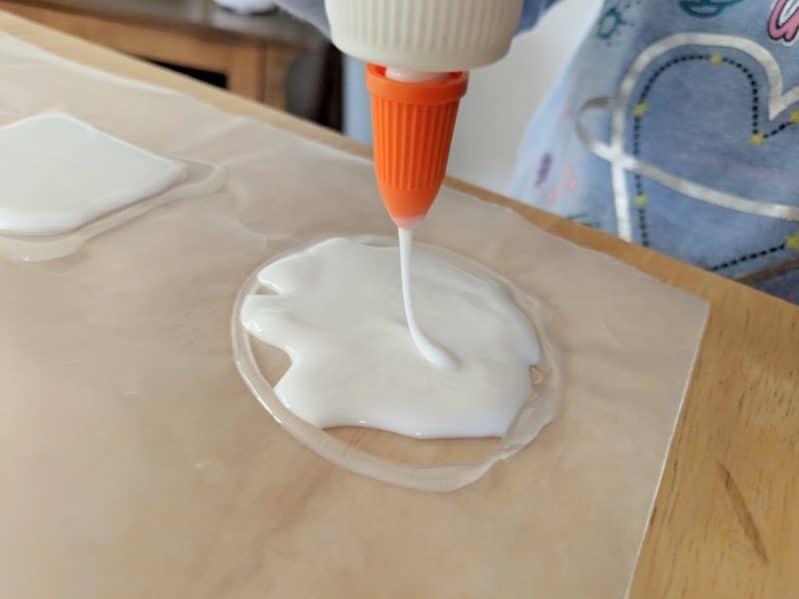
Most of the glue can be put in the middle of the charm because it spreads out, but you may need to add some along the edges as well. Completely fill all of the hot glue shapes you made with the white school glue.
Once all of the shapes are filled with glue, it’s time to add the color. You’ll want to make sure you add the tissue paper pieces while the glue is still wet.
Make your tissue paper pieces small enough to fit inside of the shapes. Then, layer the pieces inside of the shapes, squishing them down into the glue.
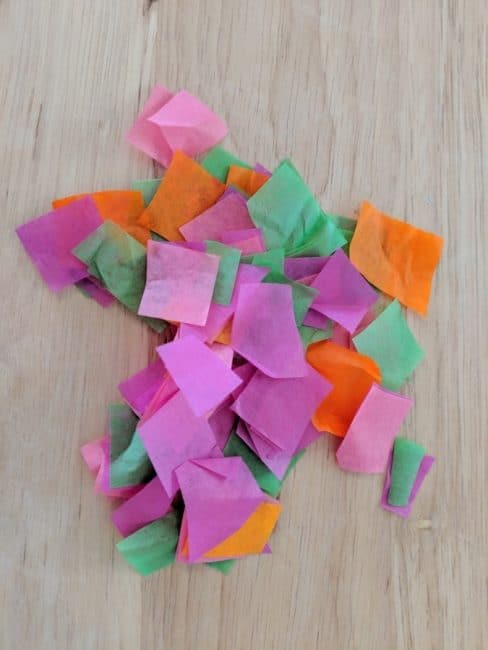
You don’t need to press down hard, pieces can overlap. It’s just about covering up as much of the white glue as possible.
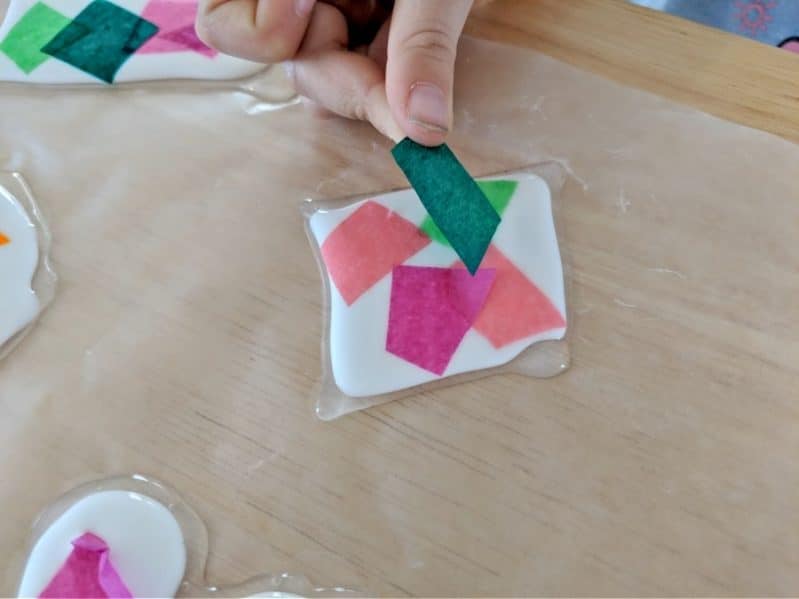
Keep decorating until all of your glue charms are full of wonderful colors. It’s also a great chance to talk about color mixing, since the overlapping tissue paper will create new colors!
The tissue paper will soak into the glue as it dries, so it will look a little different as time passes.
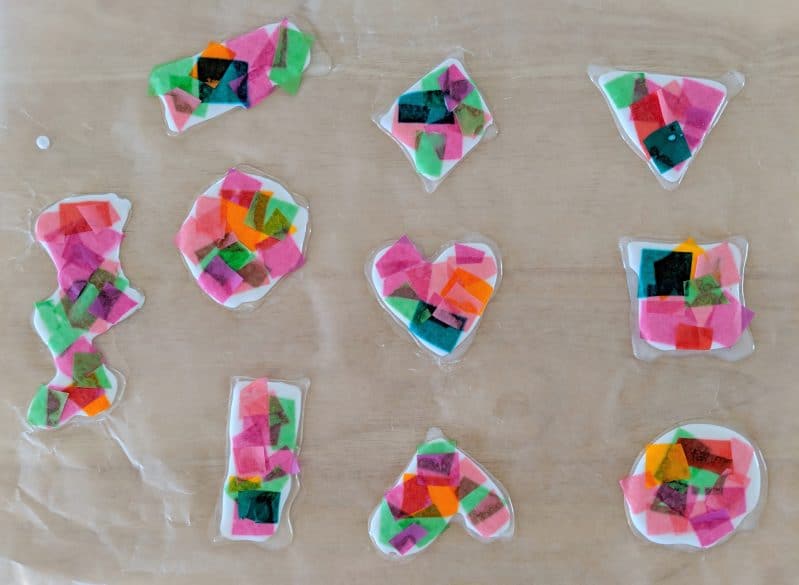
Once your charms are filled with the glue and tissue paper, it’s time to wait. The glue needs to completely dry before the next step. It may take a couple of days.
Peel & String Your DIY Charms
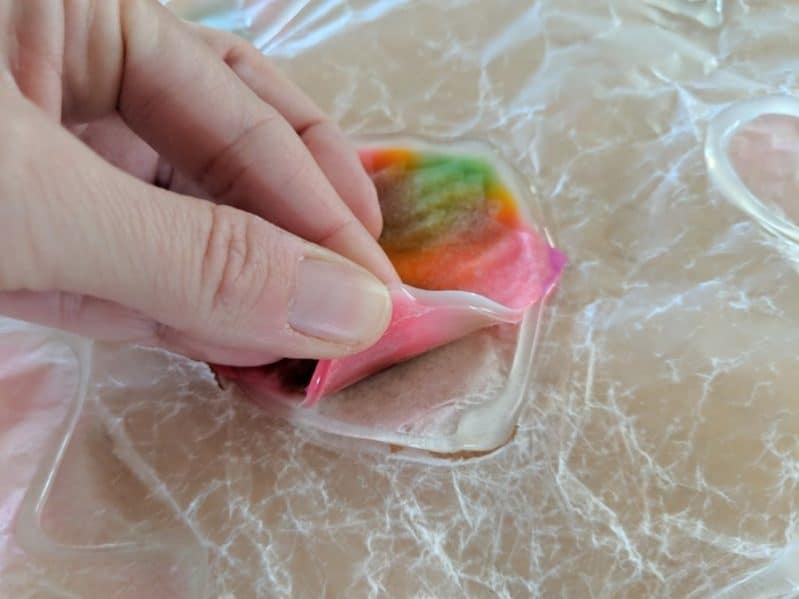
When the charms are dry it’s time to peel them off of the wax paper. Slowly grab a corner of a glue charm or any piece you can and gently fold back to essentially “pop” the glue charm loose from the hot glue frame.
Then begin pulling each charm off of the wax paper. This is the trickiest task so I would recommend you doing it or an older child.
The hot glue will stay on the wax paper. You want to peel up the dried school glue charms.
You may notice some tissue paper sticking over the sides of the glue charms. Trim off the extra bits with some scissors.
Then grab the hole puncher or scissors to make a hole at the top of each charm. We decided to punch holes in shapes so that they would hang upside down, for a little creativity.
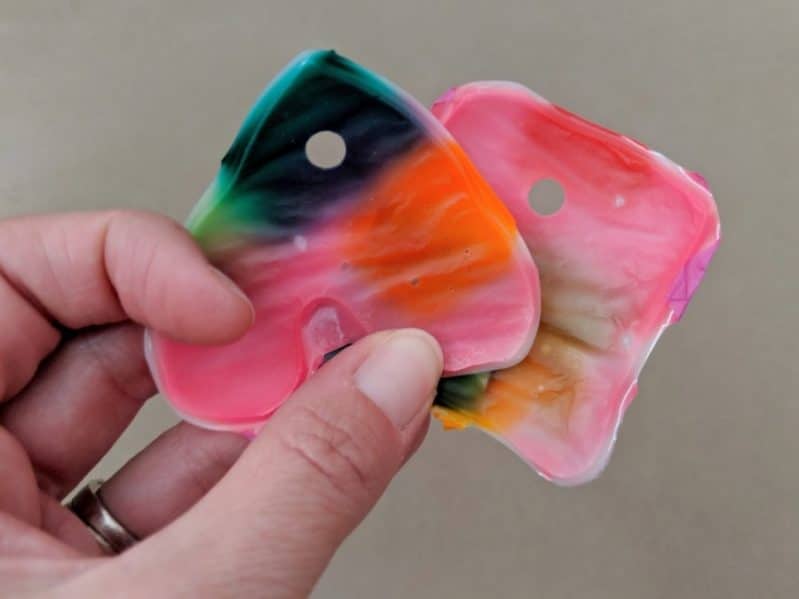
If you notice that your glue charms are folding up at all, simply put them under something with a little weight and they will lay flat again.
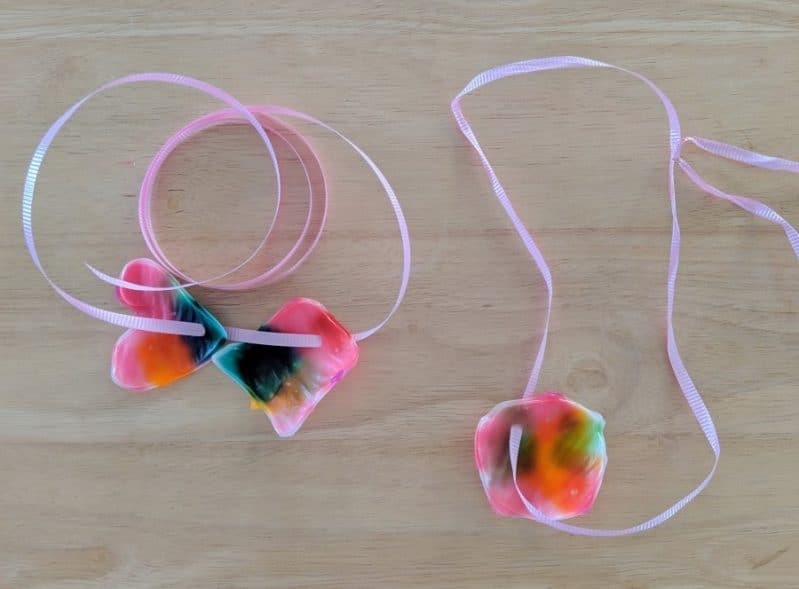
Once all the charms are hole-punched and laying flat, make your necklaces! We used ribbons since they seemed less itchy, but you could also use string or yarn.
Before you cut any ribbon, be sure to measure it! Loop some around your neck or your child’s neck to check the length and then cut.
We made a few different designs, some with just one charm and others with two or three. You can also add some colorful beads to your necklace for extra beauty.
Make another necklace that doubles as a size-sort for preschoolers!
When your charm necklace craft is complete, wrap them up as Mother’s Day gifts for all the mothers, aunts, and grandmothers in your life!
What are some other Mother’s Day gifts you have made? Please share in the comments below.
WANT TO SAVE THIS ACTIVITY?
Enter your email below & we'll send it straight to your inbox so you can access this activity later! Plus, you'll get simple activities from us every week!

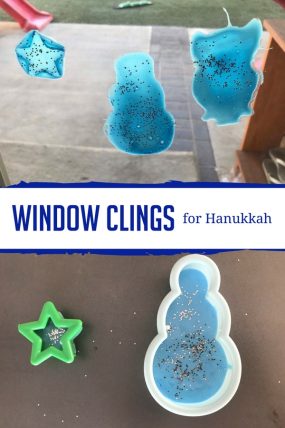 Easy Hanukkah Window Clings for Kids to Make
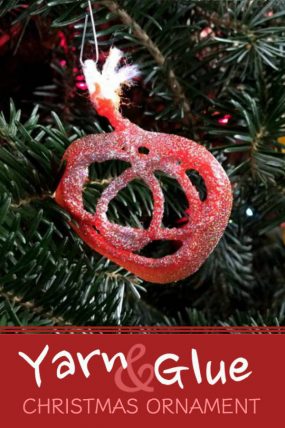 Yarn and Glue DIY Christmas Ornament Craft


Patricia Eruemu says
Really nice can’t wait to try it
Silvia says
I’m going to try the shape necklace today with a nephew that