Art Projects
Fine MotorToddlersPreschoolersKindergartnersGrade School3 Comments
This rubber band prints painting is a creative way to engage all little artists in experimenting with different materials and textures on paper.
The fun thing about print painting is that every print is different and you never know how it will turn out.
There is such anticipation and excitement in pulling up that paper to see what you have created!
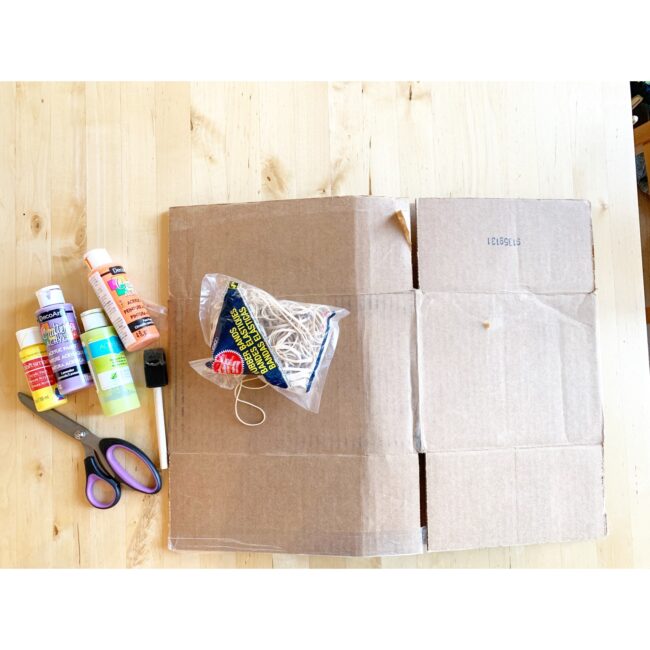
For This Rubber Band Printing Activity, You Will Need:
- recycled cardboard
- elastic bands of various sizes and widths
- paint and a paint brush
- paper
- scissors
My kids love art and they are often looking for a different way to create art besides the traditional paint brush and paper route.
Digging through the recycling bin is my favorite to use for inspiration when creating art activities with my children.
There are SO many items that can be reused and upcycled.
This rubber band printing art project is a perfect example of that.
We had a big bag of rubber bands sitting around that I wanted to utilize.
My kids had already tried rubber band splatter painting and had so much fun!
I knew I wanted to find a different approach to creating art this time around.
Prepare Your Rubber Band Printing Activity
We ended up pulling a cardboard box out of our recycling and cut it down to two different sizes.
A square and a rectangle.
Then I used my scissors to make slits all along the edges of the cardboard.
This will help secure the elastics to the cardboard.
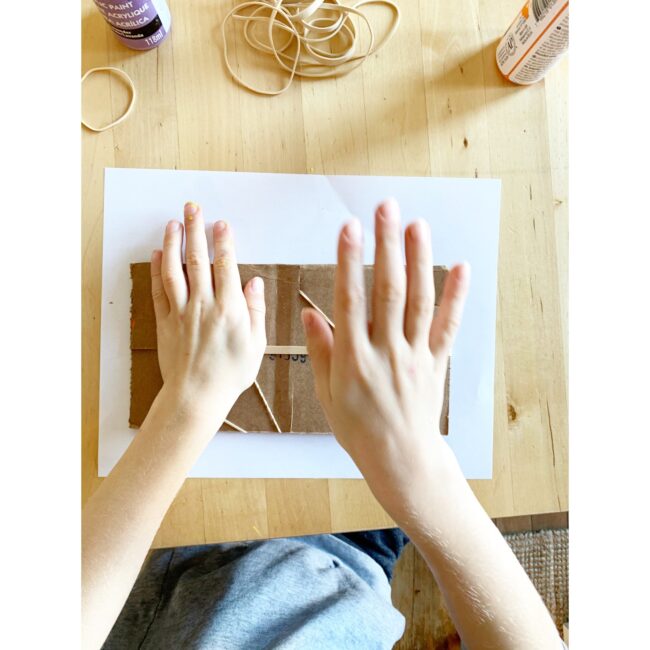
My seven year old choose what elastics he would like to use.
Then I had him place them on the cardboard and into the slits however he wanted.
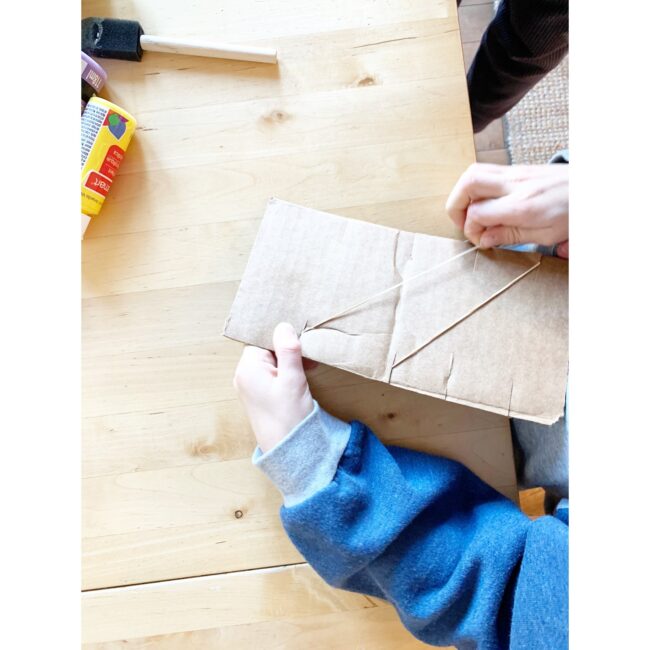
This is where you get to design your prints as you place the rubber bands along the cardboard.
I encouraged him to use different sizes of elastics. Some skinny and some thicker.
Lastly he placed the elastics in the pattern/picture that he wanted.
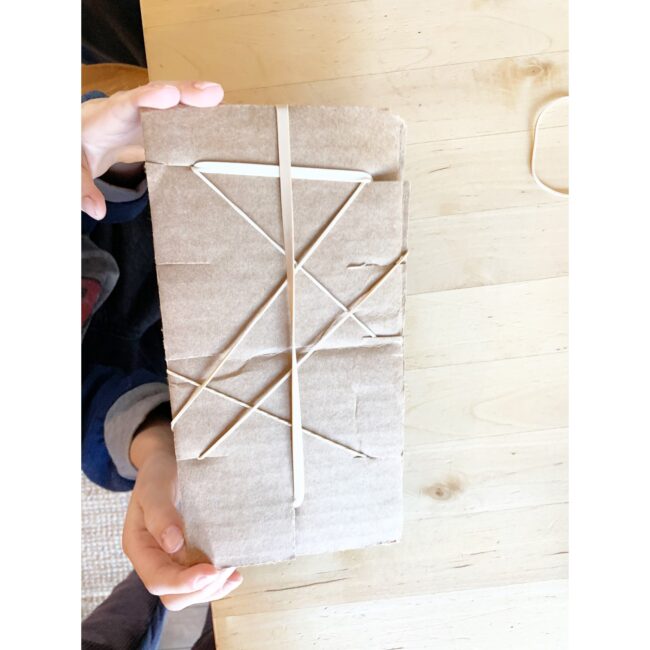
If you have a younger child, this can easily be done by yourself ahead of time as part of this activities prep.
Create Your Own Prints with Rubber Bands
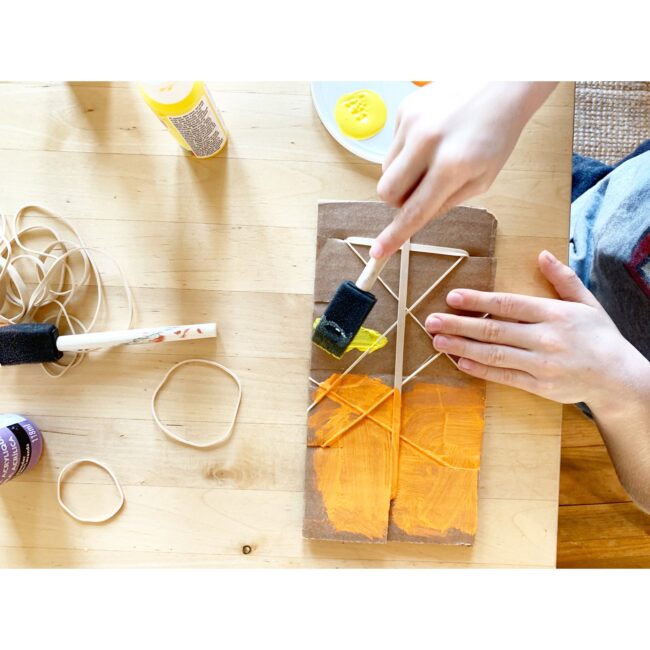
Once the rubber bands are secured, you are ready to make transfer art prints.
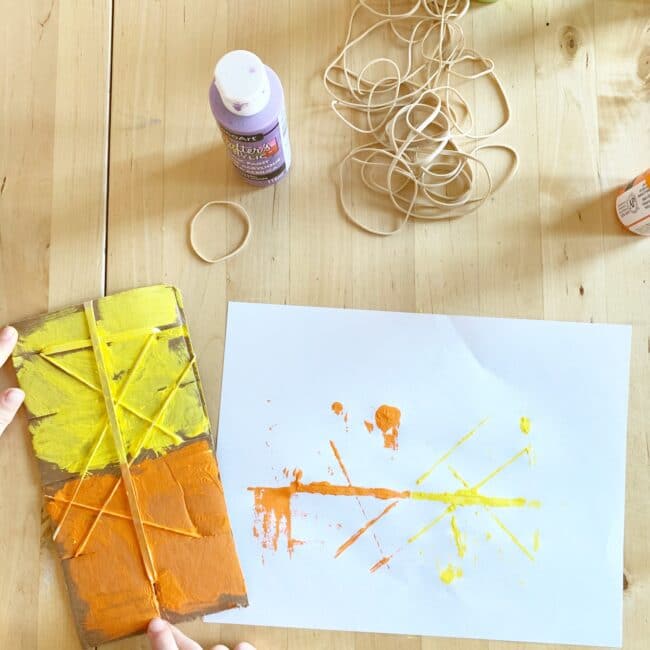
My son chose paint colors to paint on the cardboard and over top the of the elastics.
Also note: the more paint the better with this activity.
You want to make sure you get a thick coat on the cardboard and especially over the rubber bands for the best print results!
After he applied the paint, he then flipped the cardboard over and applied it to the paper.
Pressing and holding for a few seconds to allow the paint to transfer.
It was so fun to see his reaction once he lifted the cardboard up and saw the design on paper!
He was eager to create more prints with different colors and rubber band sizes!
He did them individually on new paper as well as layering on top of current prints.
This was such a fun, creative activity for him.
And he really enjoyed being able to create his own patterns and design!

Have you ever done transfer print painting?
If so, what items have you used in the print process instead of rubber bands?
I love this Truck Tracks Transfer: Process Art for Toddlers!
WANT TO SAVE THIS ACTIVITY?
Enter your email below & we'll send it straight to your inbox so you can access this activity later! Plus, you'll get simple activities from us every week!
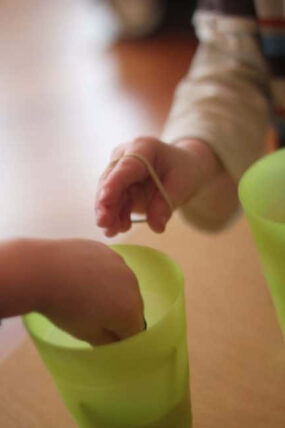 Fun Rubber Band Passing Fine Motor Game
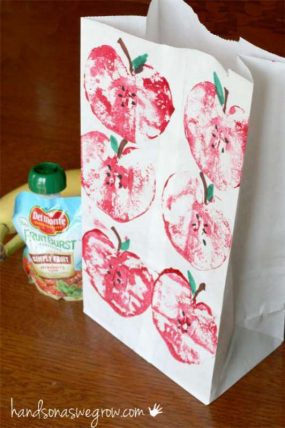 Apple Printing Lunch Sacks on Parents.com


Leave a Comment