Activities
Crafts
Fine MotorToddlersGrade SchoolKindergartnersPreschoolers4 Comments
Make a DIY balloon birthday card craft, from Alisha, that really pops! This simple craft is easy to make and fun to give!
It seems like I’m always spending money on birthday cards. And they’re kind of expensive!
Do more with balloons with a Body Pop Experiment to have fun learning.
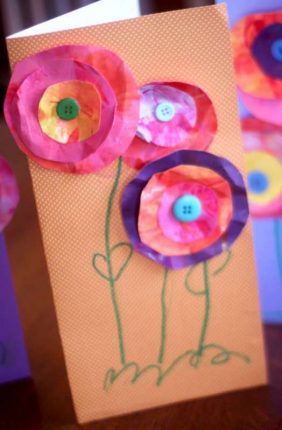
Simple DIY 3D Balloon Birthday Card Craft for Kids
I love this super simple way to combine activity time and making your own homemade birthday card. Our upcycled 3D card craft uses basic supplies you’ll probably have on-hand, the 3D supply being deflated or popped balloons.
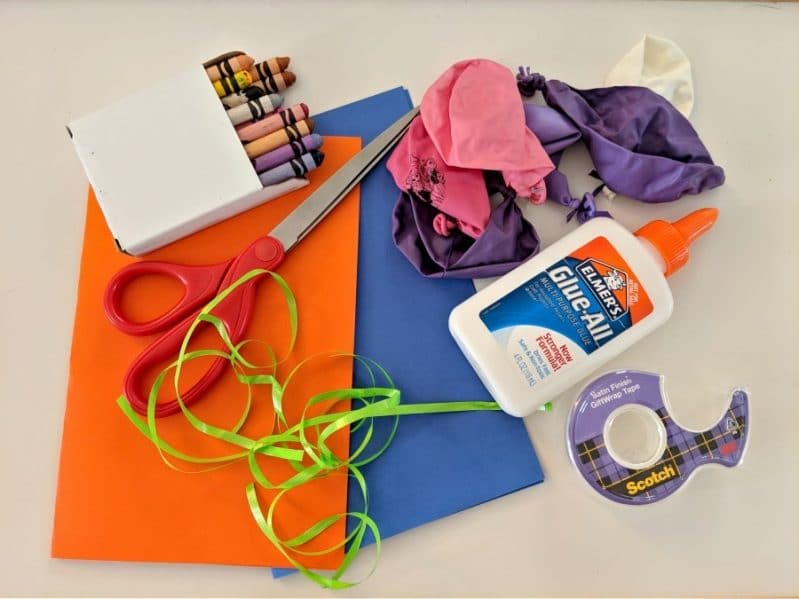
To make your own DIY balloon birthday card, you’ll need:
- Cardstock Paper (affiliate link)
- Deflated balloons
- Balloon ribbon or string
- Crayons or makers
- Glue or tape
- Scissors
Build Your Own Balloon Birthday Card
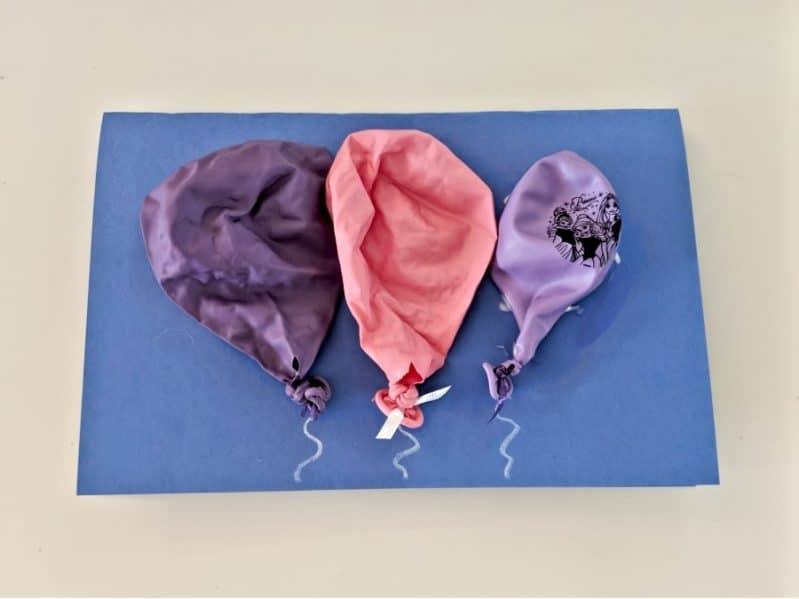
Simply begin by folding your piece of cardstock paper or construction paper into a card. Fold it in half either way.
Then gather your deflated balloons (we used three for each card), a few pieces of leftover ribbon (cut as needed), glue, and crayons.
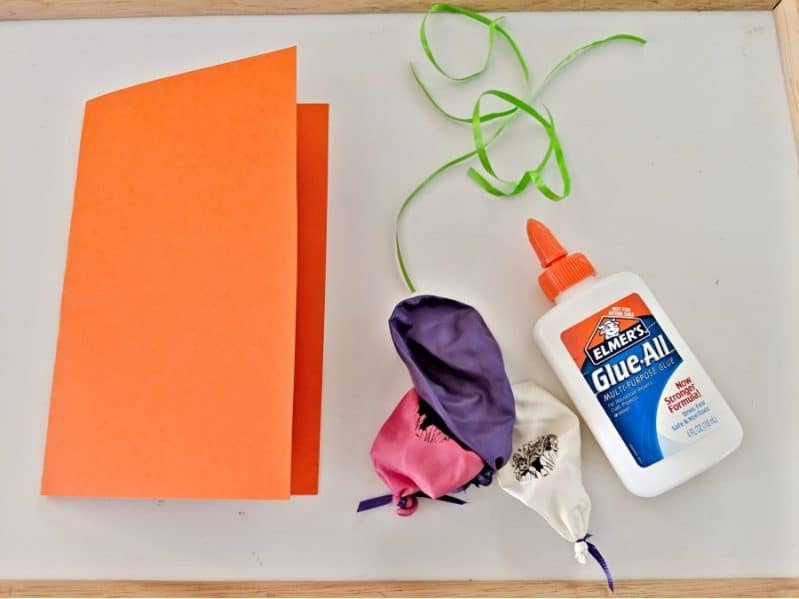
Now you’re ready for hands-on birthday card craft making!
Let’s Get Crafting:
Decide whether you want the card to be portrait or landscape, this will decide where you glue the balloons.
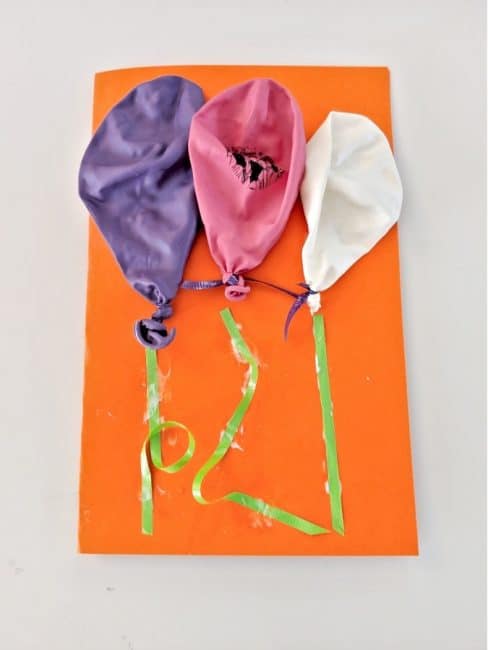
Then either you or your child can arrange the deflated balloons on the front of the card. Set them up so that the bottom of the balloons matches the bottom of the card.
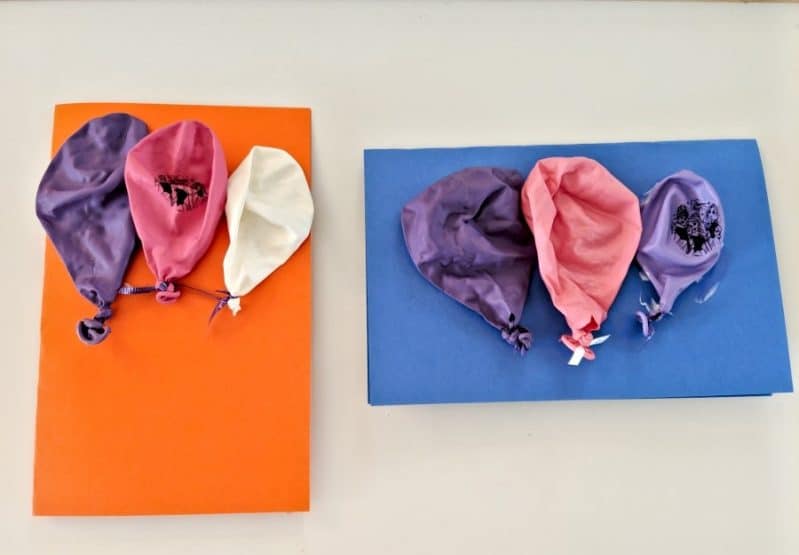
Lift each balloon to place some glue and stick down firmly.
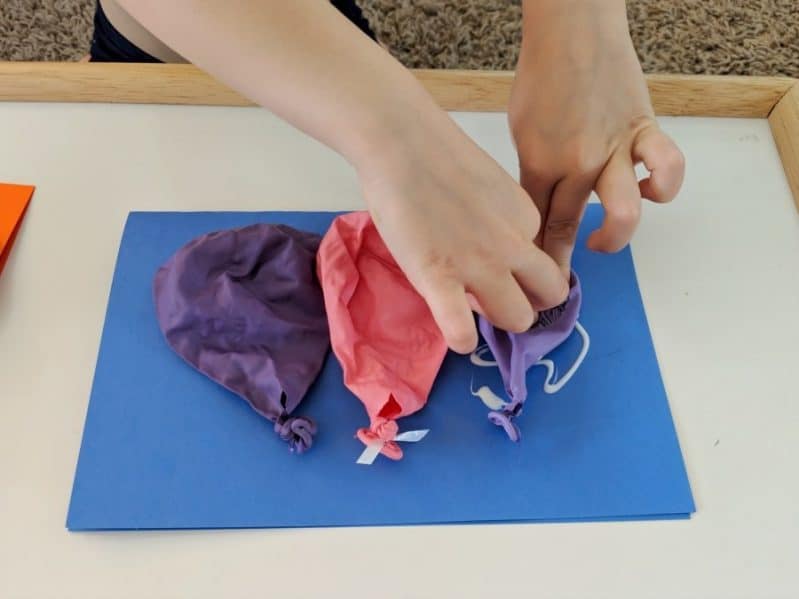
Once the balloons are in place, it’s time to glue the ribbon below each balloon.
The ribbon design is completely up to you or your child.
It can touch the bottom of the balloon or have a space, the ribbon can be straight or curved, long or short, and can be flat or add even more 3D effect being raised from the paper.
Ribbons are a great tool for fine motor practice and simple activities.
I recommend putting glue down first and then sticking the ribbon on. Be prepared for glue getting on your fingers. Don’t worry, it rubs off easily!
Another idea, which would be easier for younger children, would be to draw on the balloon strings versus gluing on the ribbon.
I bet your 3D birthday cards are popping off the page!
Once the glue is dry, grab some crayons or markers for additional decoration to the front and/or a Happy Birthday. However, you can choose to just have the balloon art on front and save all of the writing for inside the card.
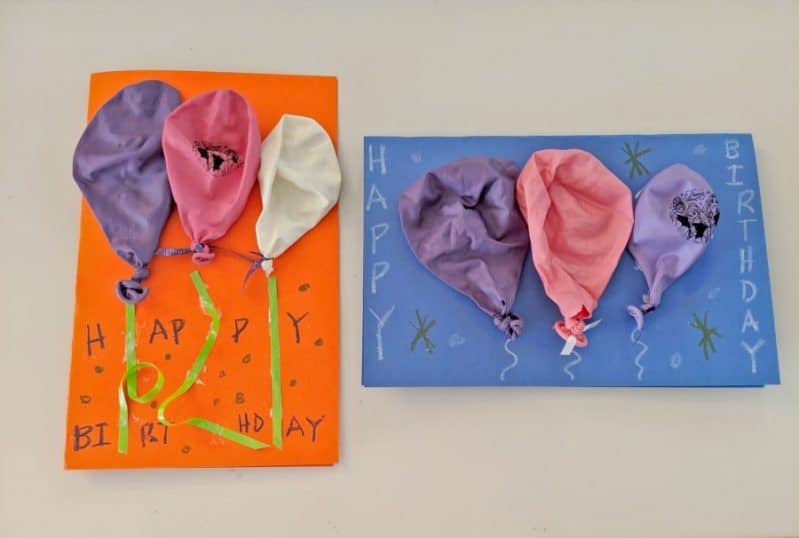
Open the card, add your birthday message, and sign your names proudly. It’s now time to deliver your special homemade upcycled 3D birthday card to that someone special or keep it for an occasion coming in the future.
Next time you need a birthday card and are looking for a hands-on activity to do, grab some deflated or leftover balloons and make this simple, but special 3D birthday card craft.
Have you made any other homemade birthday cards? Please share your ideas in the comments below.
WANT TO SAVE THIS ACTIVITY?
Enter your email below & we'll send it straight to your inbox so you can access this activity later! Plus, you'll get simple activities from us every week!
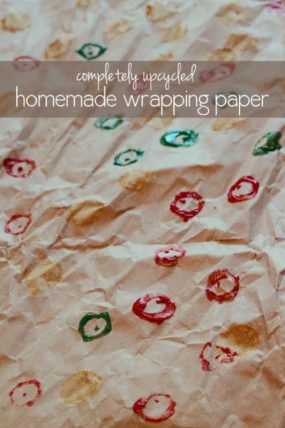 Completely Upcycled Homemade Wrapping Paper for Teacher’s Gift
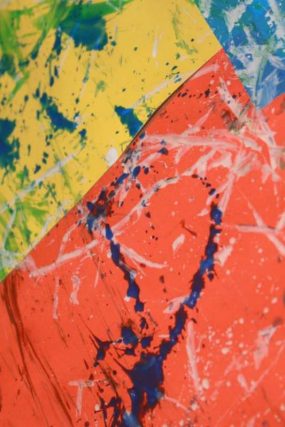 Big Art Project for Toddlers: Ribbon Painting
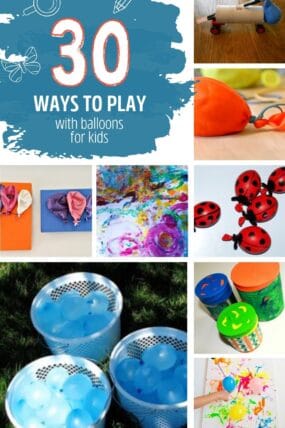
 3D Flower Card for Kids to Make for Mother’s Day


Leave a Comment