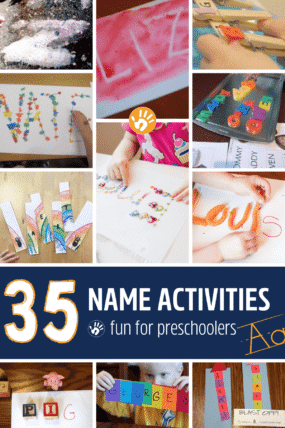
Literacy & ABCsKindergartnersGrade School10 Comments
As a teacher I have said the words, “stretch it out” more than I can count. It’s a super useful phrase when you are teaching kids to read, but I have found it is way more useful with this little tool that helps when stretching out words.
Teaching kids to read is a huge topic to cover. Way bigger than this post. And I know it is a topic that can feel overwhelming as parents.
But here’s the thing. There are 3 very simple things we can do as parents to help our little ones learn to read.
The first is read to our kids. Lots.
The second is to play rhyming games with them. Lots. Rhyming plays a huge roll in learning to read.
And the third is to give them little tools to make learning to read fun and hands on.
This little tool is a great way to make learning to read fun and hands on. If your little one is ready to begin “stretching out words”, then pop this tool in your teaching toolbox!

Sometimes the term ‘stretch it out’ is familiar to little ones, but sometimes they look at me funny when I say it.
I am still waiting for the day that a little one gets up and starts stretching out a hamstring when I say it.
All kids do well with hands on learning. This little reading tool is a great one to help little ones understand what it means when stretching out words.
For this word stretching game you only need an elastic (a rubber band or hair tie works well) with some letters taped on to it. I like to stick with word families, changing just the first letter so little ones see success quick.
Another easy activity with rubber bands? Use a can of food.
We started by putting the letters c-a-t on the elastic. Sammy pulled the elastic to stretch each sound apart. Once they were spread out, he said each sound slowly… /c/… /a/… /t/.
This is awesome letter sound practice, not to mention a fantastic fine motor hand strengthening activity.

Next he moved his hands a little closer and said them again, then closer and again, blending the sounds closer together each time until finally he read “cat”.
It takes some practice so little ones say the letters smoothly together in a blending way. This is why I like to change just the first letter for the next round. I think we did “sat”. Sammy already knew the “at” sound at the end, so he was just blending the /s/ sound onto it.

We kept this activity nice and fun. No stress or concern if Sam was having some trouble, I just helped him along with a smile. After doing it together for a little while he was rocking it all on his own.
Another tool popped into Sammy’s learning toolbox. And a little bump in his confidence as a reader as well. Not too shabby for one elastic band.
More tools to help with stretching out words:
These are affiliate links to products that can make it easier for kids to help “stretch it out”.
WANT TO SAVE THIS ACTIVITY?
Enter your email below & we'll send it straight to your inbox so you can access this activity later! Plus, you'll get simple activities from us every week!
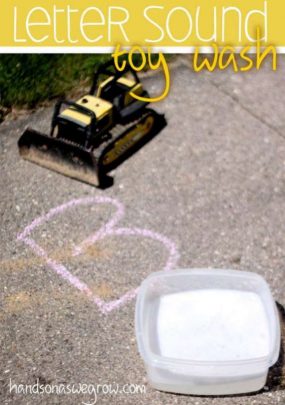 A Beginning Letter Sounds Hunt for Toys to Wash
 Helping Your Child Learn to Read in 6 Simple Ways


Saba says
It’s an interesting activity and definitely do this.
Erin says
How exactly did you attach the letters to the stretchy thing? What is the stretchy thing. I’m very intrigued.
Carlyn Peterson says
Hi Erin! It looks like she just used rubber bands, or some elastic string from the craft store would work too. You can just tape the letters onto the string; the elastic may shift when it stretches, but the tape will hold the card onto the elastic.
Keke Grayer-DAVIS says
Thanks for all ideas. Keep them coming. From toddlers to afterschool.It’s been great.
Denise says
What a great idea! I love hands-on learning activities.
My teachers always said, “Sound it out.” That may be what those kids who are looking at you funny are used to hearing :-)