My February ME project was actually done last week because I was so excited to get it done and I had some time.
Who doesn’t have some time when you’re stuck inside all day every day?
It was a rarity, but I took the opportunity of my hopefully-someday-soon-to-be-sister-in-law watching the boys for a morning and did something for me.
One of the very first posts I found when I was just at the beginning of my newfound addiction of blogs was My Favorite Things Board at Rosy Red Buttons. Camilla explains how to make this message board step by step.
I don’t have the step by step here, or even a before and after… just the finished project.

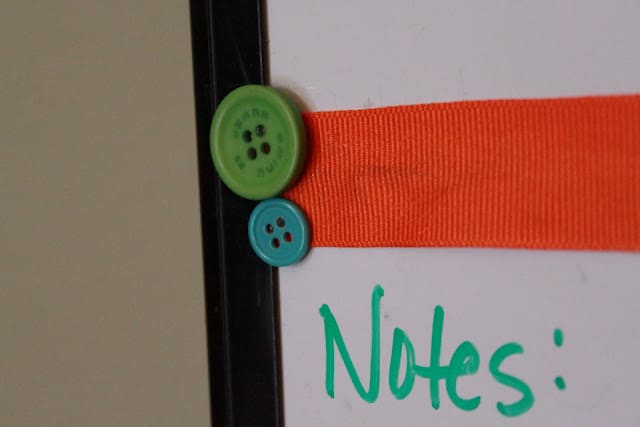
So I bought myself a nice magnetic white board and spray painted it black. I’m not as brave as Camilla so I taped it off completely with paper and whatnot.
I am an incredibly sloppy-messy-uncareful-accident-prone-in-a-rush-person so I was extremely impressed with myself that I actually took the time to tape it off (especially since Camilla said she didn’t) – however, my hands somehow ended up completely black by the time I was finished painting (I still have remnants on my fingernails a week later).
My one big suggestion is to live with the white board as is for a couple weeks and play with layouts.
I started with it exactly like Camilla had it, but realized I didn’t have the need for a full month calendar. So I did some rearranging (and then again… and again) until I was happy with how I would be using it.
I had troubles getting the fabric to slide under the edges of my board, I could only get it on one side. So I decided to trim around the fabric with the small green ribbon I was using for the criss cross message board. (I guess I don’t have a closeup of the edge)
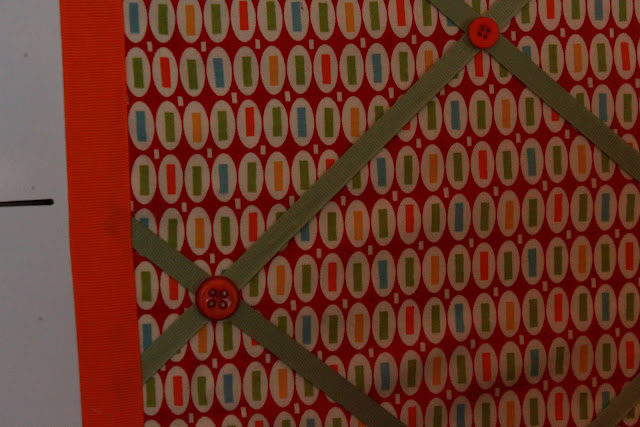
Since I couldn’t get the fabric under the edge, I also couldn’t get the ribbon, so I had to cover up those goofs with cute buttons!
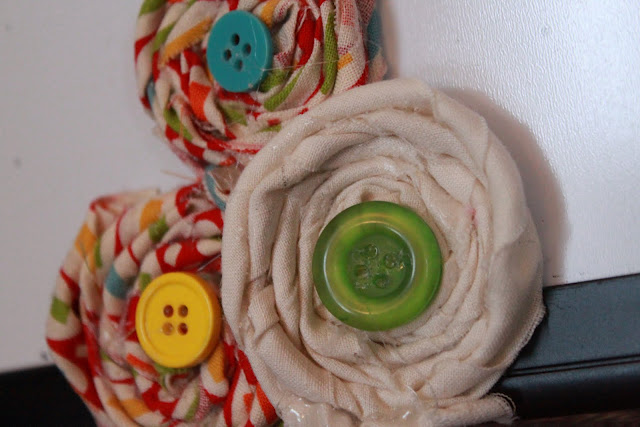
I also have been dying to make these rosettes! They are also one of the first posts I found that I had to do myself! I found a great tutorial at The Secret Stitch Club. To sum it up: cut a strip of fabric, knot it, twist and glue it as you go.

WANT TO SAVE THIS ACTIVITY?
Enter your email below & we'll send it straight to your inbox so you can access this activity later! Plus, you'll get simple activities from us every week!


Leave a Comment