Fine MotorBabyPreschoolersToddlers5 Comments
Super simple DIY ring stacking toy activities for baby or toddler using items you have at home. Easy fine motor activities for toddlers.

I like to think of myself as a frugal mom. I try to do as many activities and games as I can with things that I already have instead of spending money.
The thing I love about that is how you can reuse the same supplies for another activity, game, or toy later on as your kids grow and develop in their skills.
And ring stacking toys are no exception to that.
The first time I tried this activity I did it with my son when he was about 15 months old.
We use toilet paper rolls cut into small rings and a paper towel holder.
Since that time we have used many different household items and toy items as rings for our DIY stacking toys.
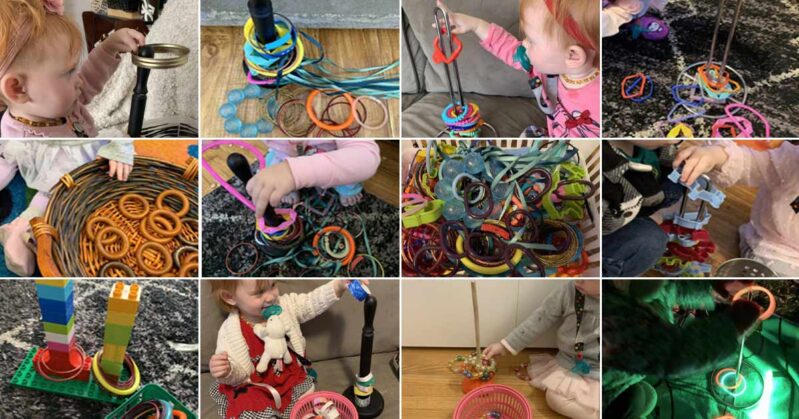
I will show you a bunch of ideas that I used throughout the last couple of months with the ring stacking toy that’s super easy to DIY for your babies or toddlers.
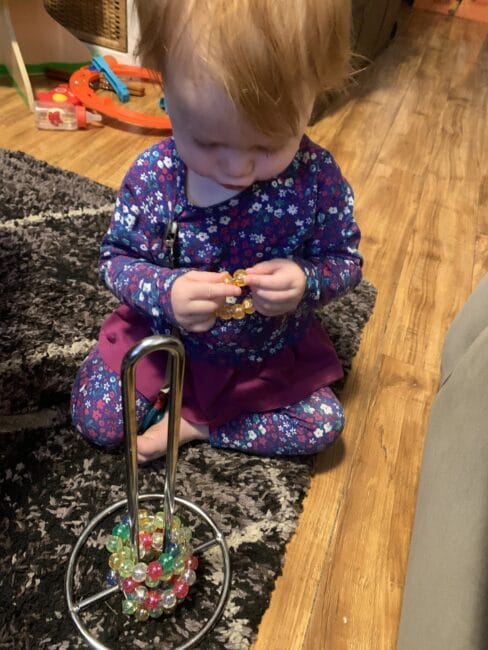
When my daughter was still only about 9 months old we played with this DIY toy a whole lot.

She wasn’t as great yet at getting the rings on the stand but she sure was excellent at getting them off!
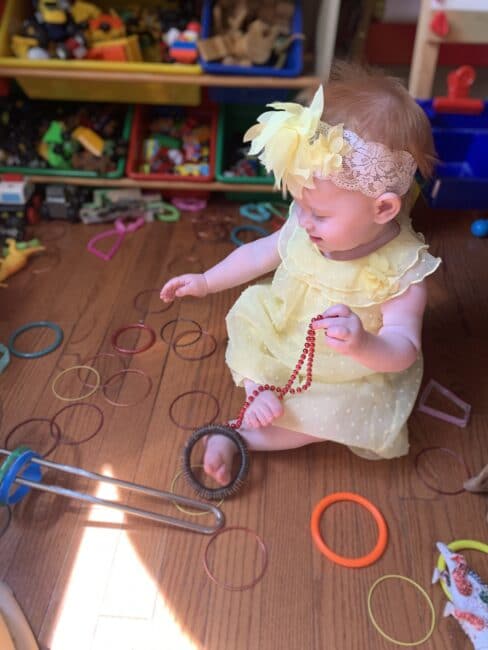
Truth be told this was a fantastic sensory and fine motor activity for her.
I’m convinced that introducing this stacking toy so early has a big part to play in her skill level today.
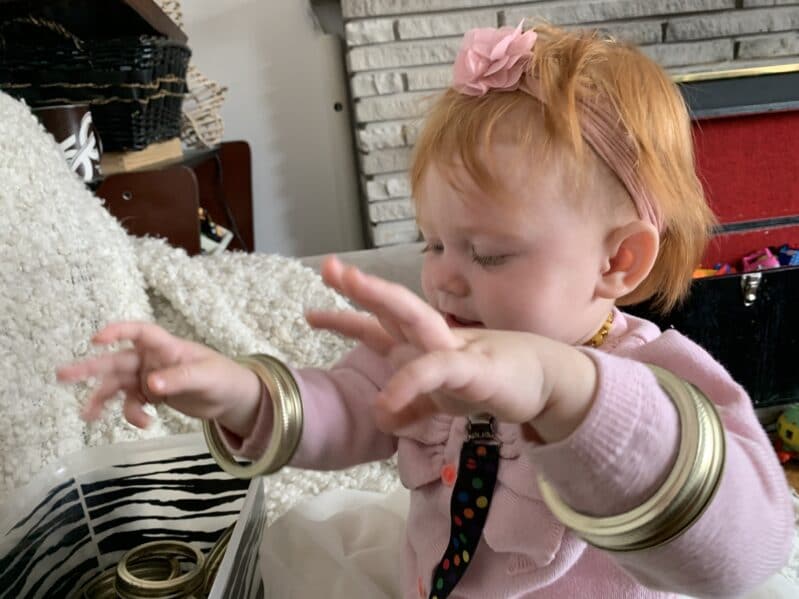
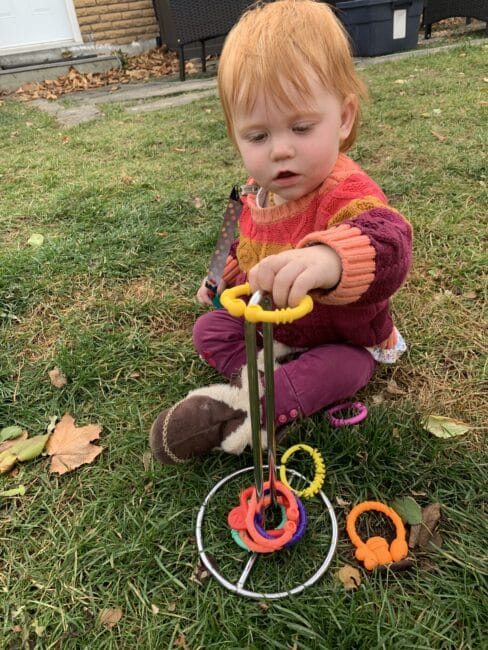
I used as much variety at one time as I could with old costume jewelry bracelets, straws, shower curtain rings, rubber bracelet bands, bangles etc.
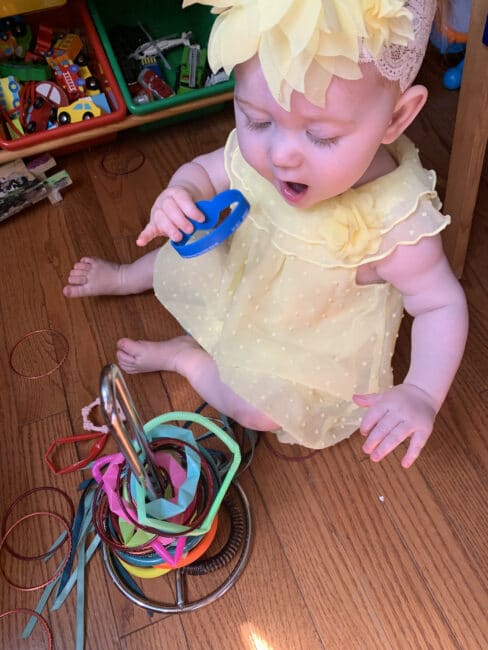
Today at 16 months I can hand her just about anything to use for a stacking activity and she knows exactly what to do and can always seem to pull it off.
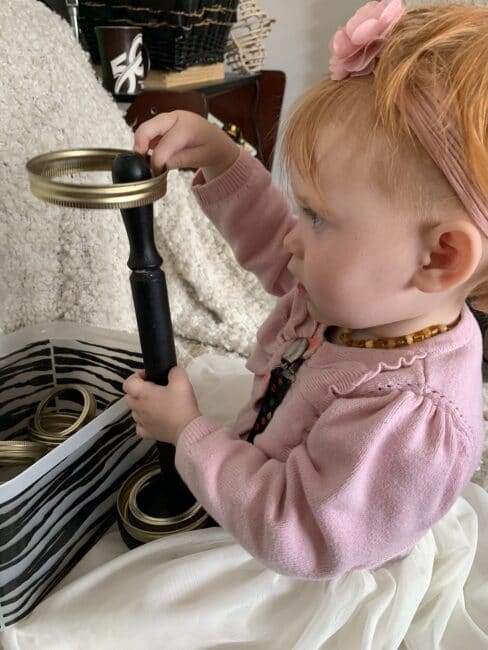
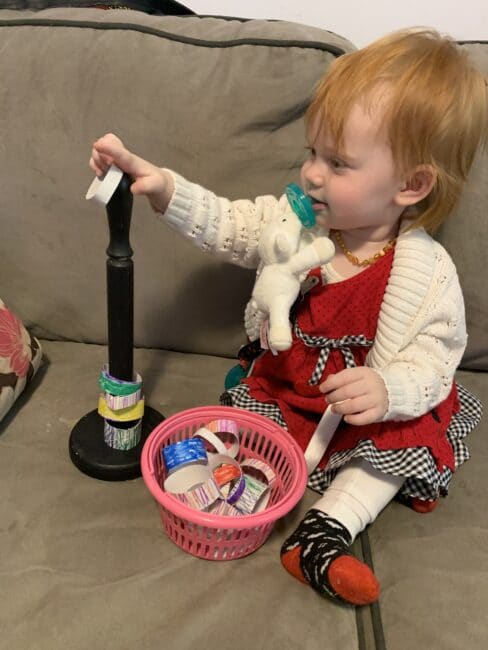
Mason Jar Lid Rings Stacking Toy for Babies and Toddlers

To Do This Activity Will Need:
- Standing paper towel holder
- 2 piece mason jar lids (only the outer ring)
First grab the paper towel holder and set it out where your baby or toddler can easily play with it.
Personally I like the floor or couch for this kind of activity.
When I use the couch it helps to keep the focus on just the one toy or activity I’m providing it keeps distractions to a minimum.
A blanket on the floor is great too.
Grab the rings and place them in a basket or even just next to your toddler.
Play Time!
For babies I find it best to start with the rings on the toy and just let baby focus on taking them off instead of stacking them on.
However, don’t rule out the possibility that your baby may want to put them back on too!
Begin by encouraging your toddler to put the rings on the tower.
Help them get started by showing them what to do.
Place a few rings on the tower slowly while they are watching you. Then pass one to them and see what happens.
My daughter loved this stacking toy.
She would get all the rings on the tower and then dump it over.
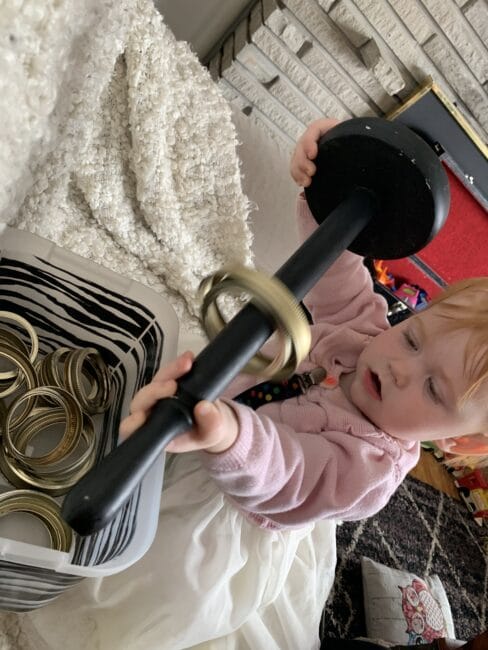
She also spent a lot of time putting the rings on and then taking them off and putting them into the basket.
The fine motor skills were equally developing in both parts of the activity.
And the bonus with the mason jar lids is the sensory of sound when they clink together.
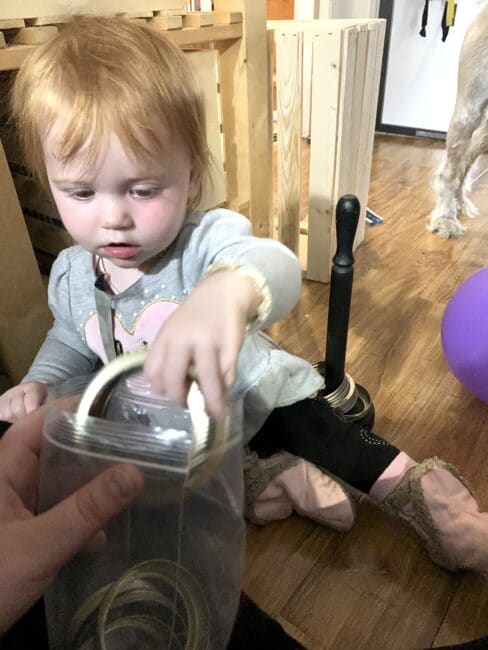
You could have a smaller opening basket or bag you can hold instead so your toddler can work on inserting the rings into the smaller opening also!
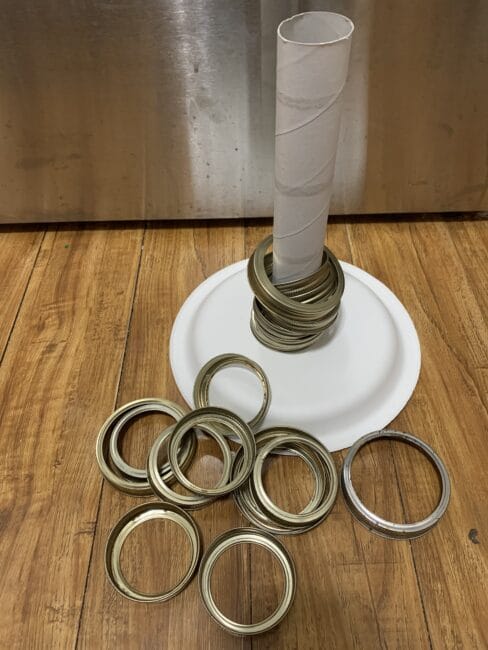
We also did this one using a paper towel roll and a paper plate as the base. Just a touch of hot glue to hold it together and you are ready to stack!
Shower Curtain Rings and Beads Stacking Activity for Toddlers
For This Activity You Will Need:
- metal rings that close completely (usually used for shower curtains)
- large hole beads
- Play dough
- wooden spoon or sturdy spatula
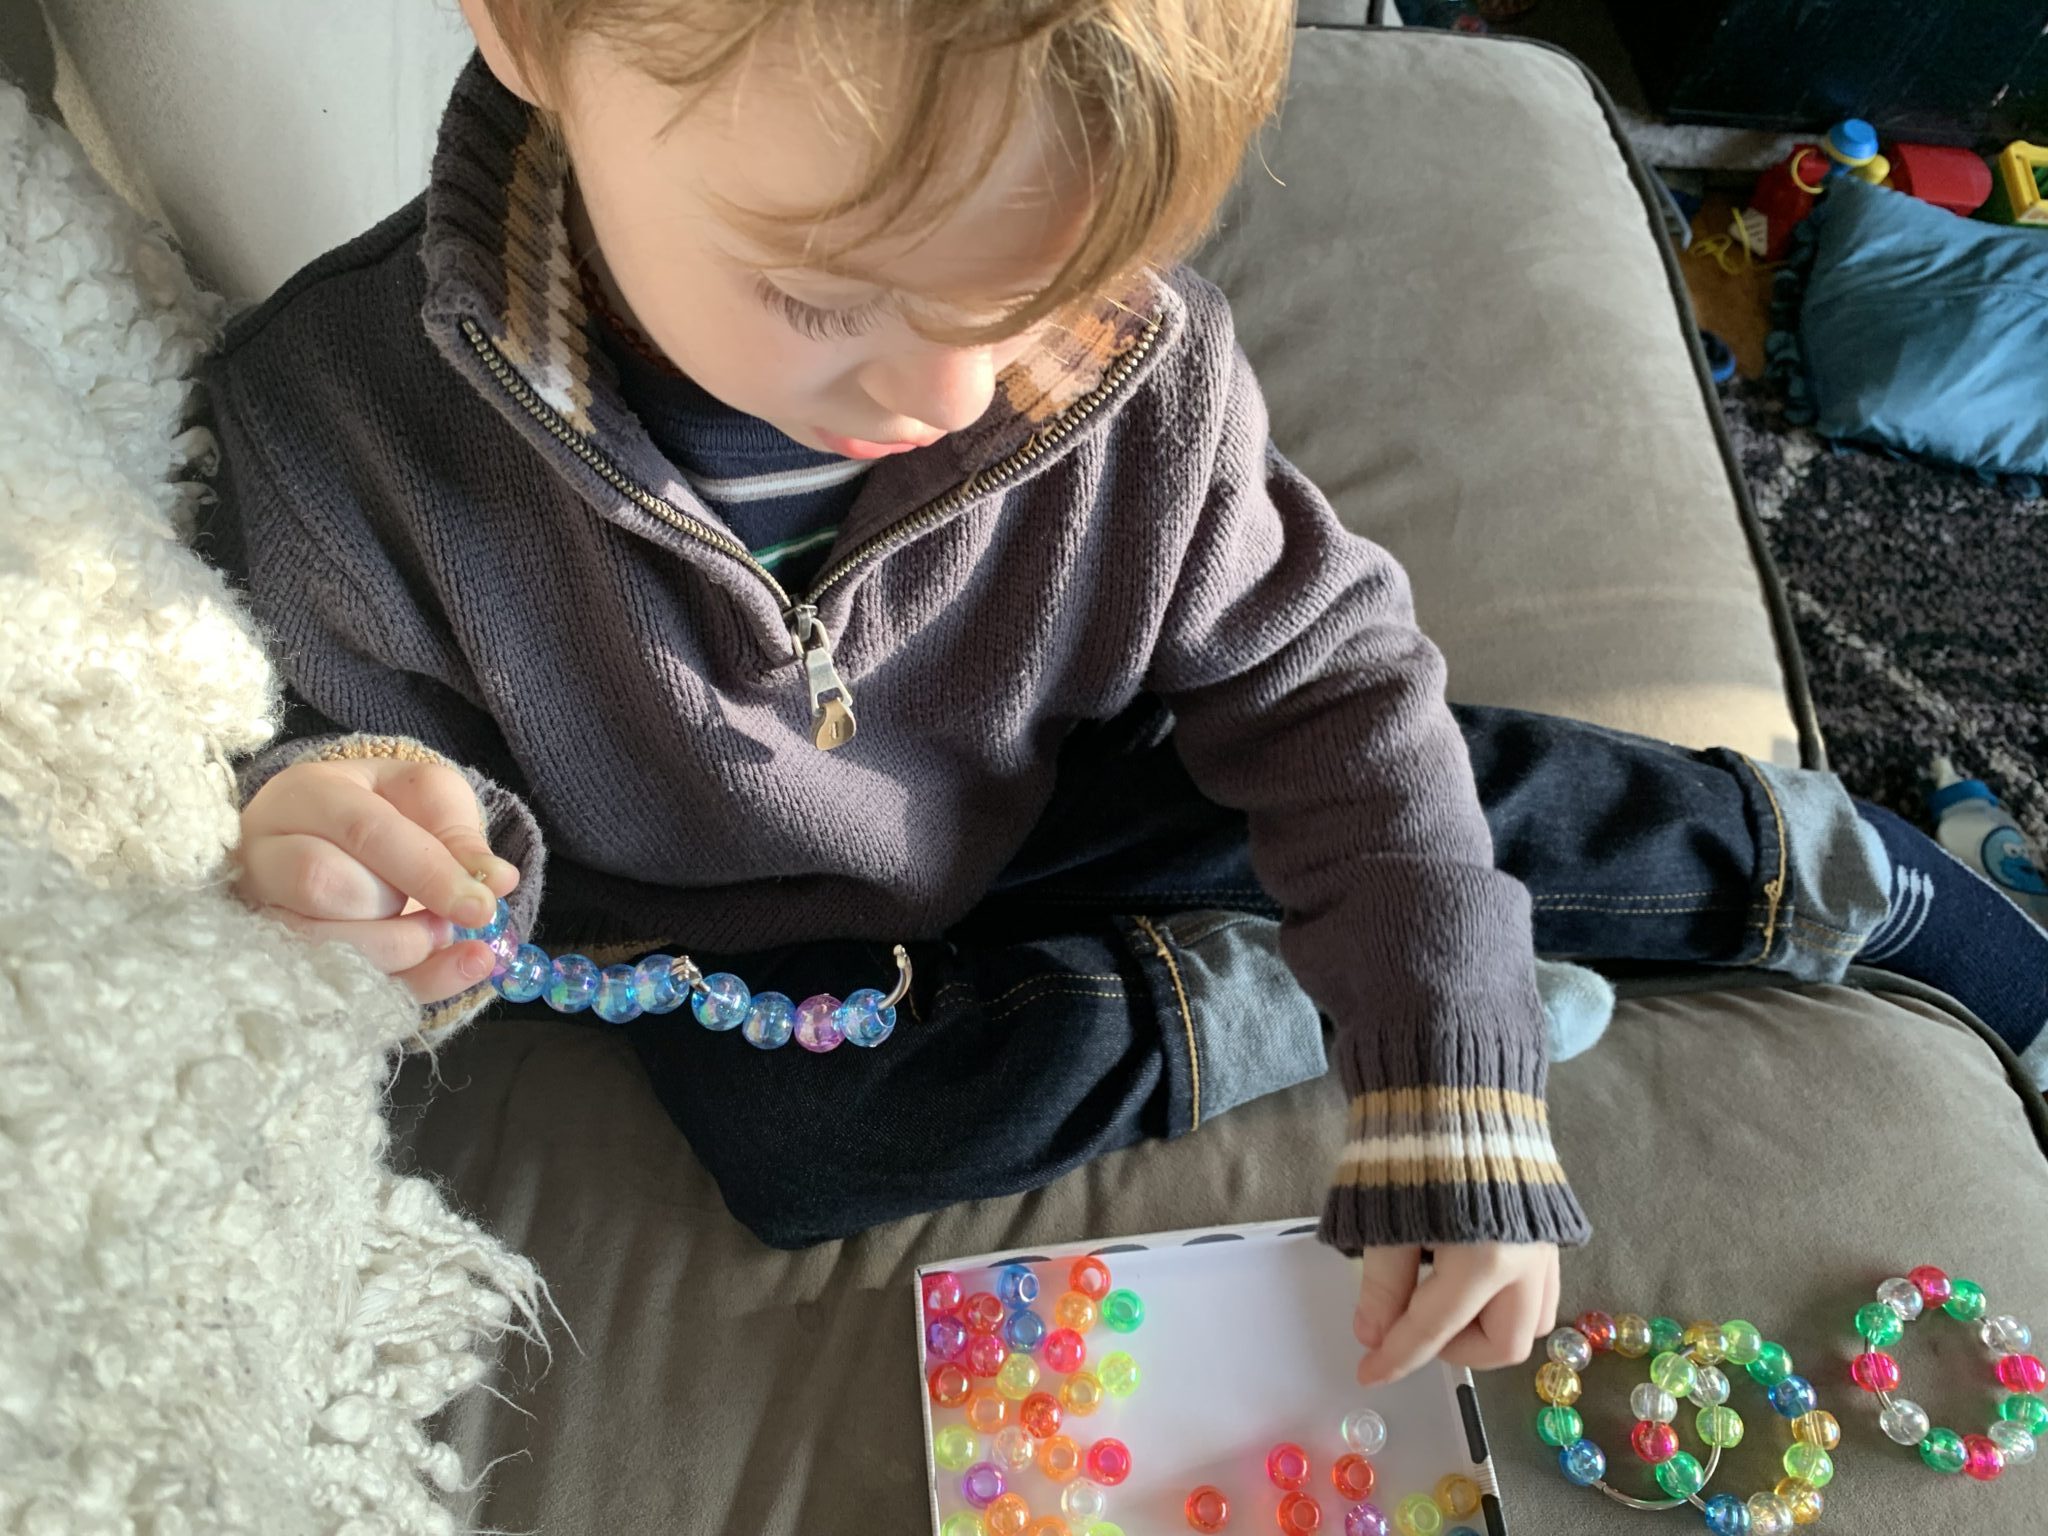
Creating the Beaded Rings – Fine Motor Activity
For this activity I got my son involved. Charlie is a 3 year old boy who loves fine motor activities.
And beads! He loves beads.
When Maisie was having her nap I brought out the metal rings and large hole beads for my son.
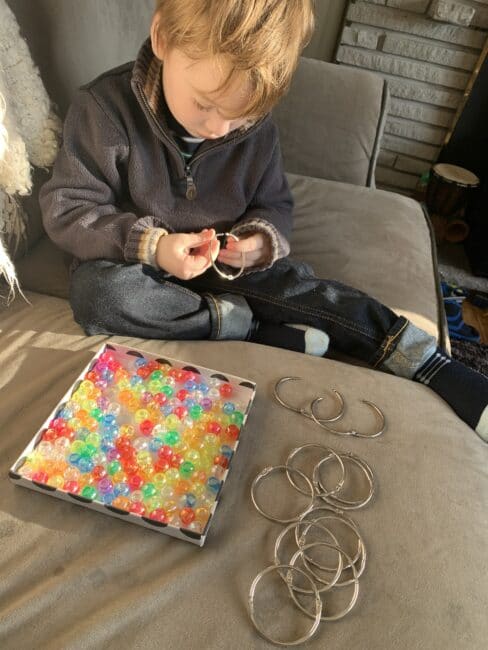
I let him thread to his heart’s content and create patterns and color sorting ones.
He made a bunch of these rings for his sister to play with.
When Charlie was bored of the activity (doesn’t usually last all that long at this age still) I made a bunch more for my ring stacking activity with Maisie.
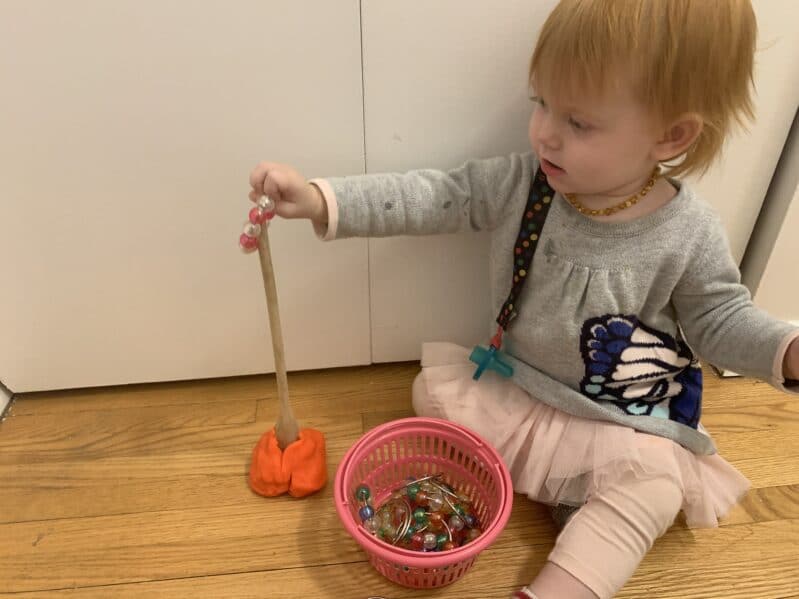
Play Time with Beaded Stacking Toy & Play Dough
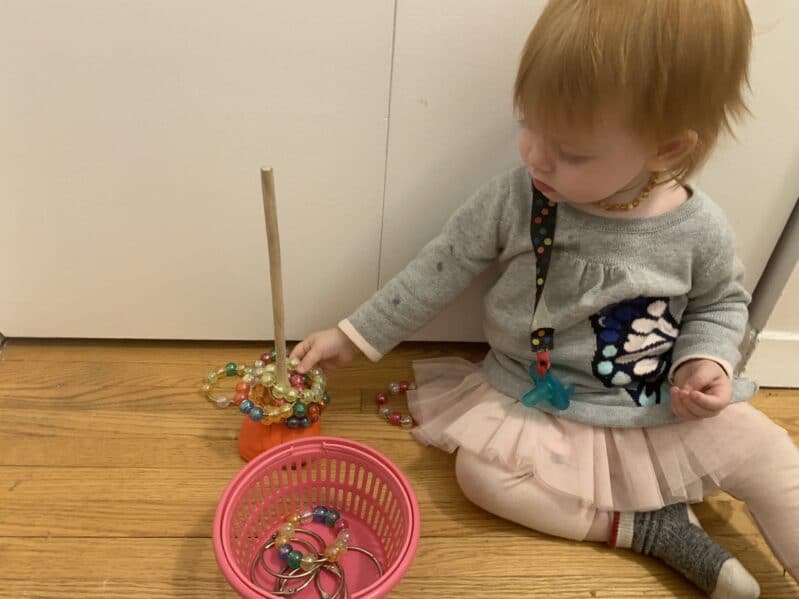
When Maisie woke up I took a wooden spatula and smooshed play dough around the scoop part in a big ball.

I pressed it onto the floor so it made a stacking tower.
Modelling clay would be stronger but I loved the added sensory factor to the play dough as she could play with that part after and take it all apart.
She had fun stacking the beaded shower curtain rings onto the spoon and taking them off to put into the basket.
After she she done with the stacking toy she took the spoon out and played with the play dough and rings on their own.

My son got involved also!
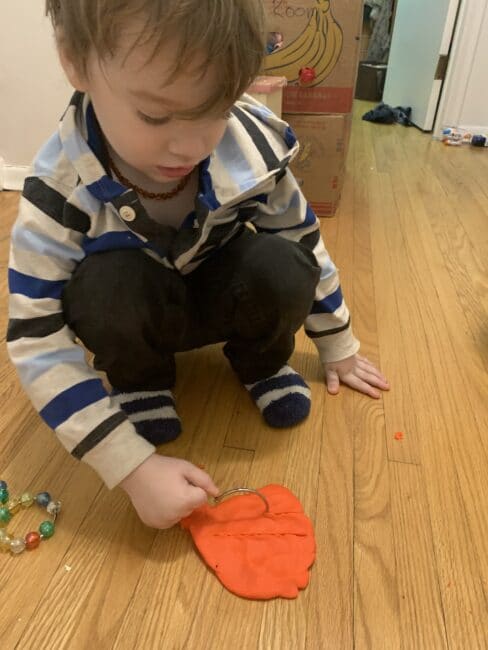
I love it when an activity can be adapted to include both ages of my kids like this version of the stacking toy.
We also used these with a paper towel holder many more times and she loves them!
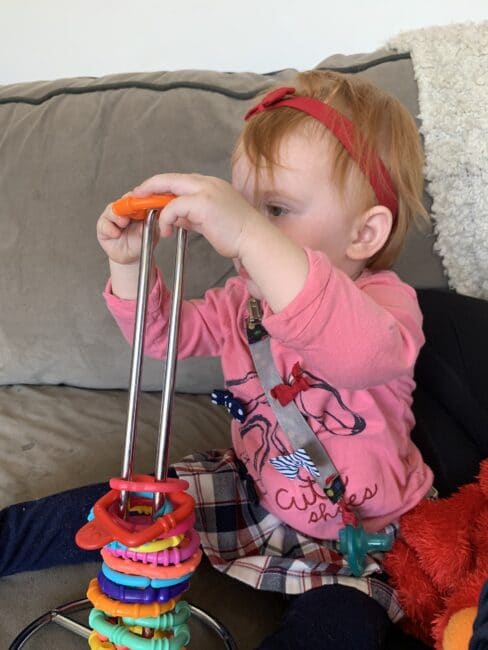
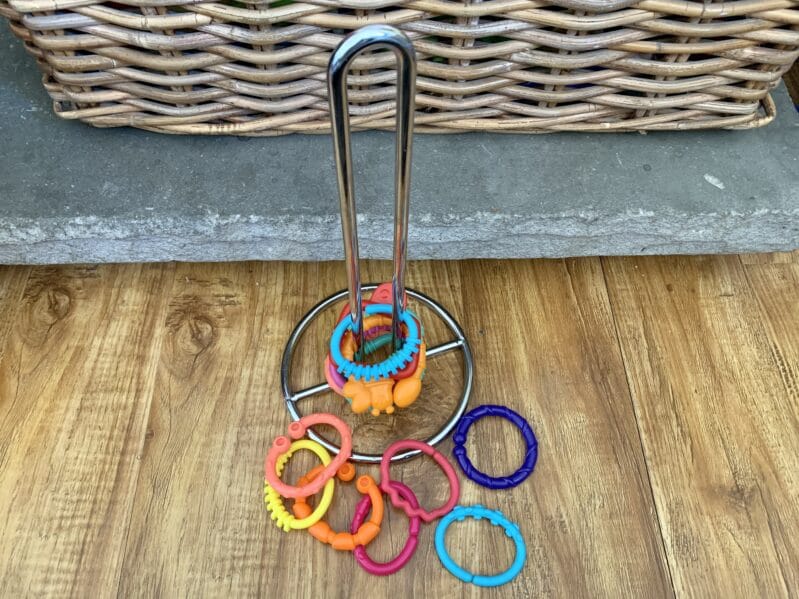
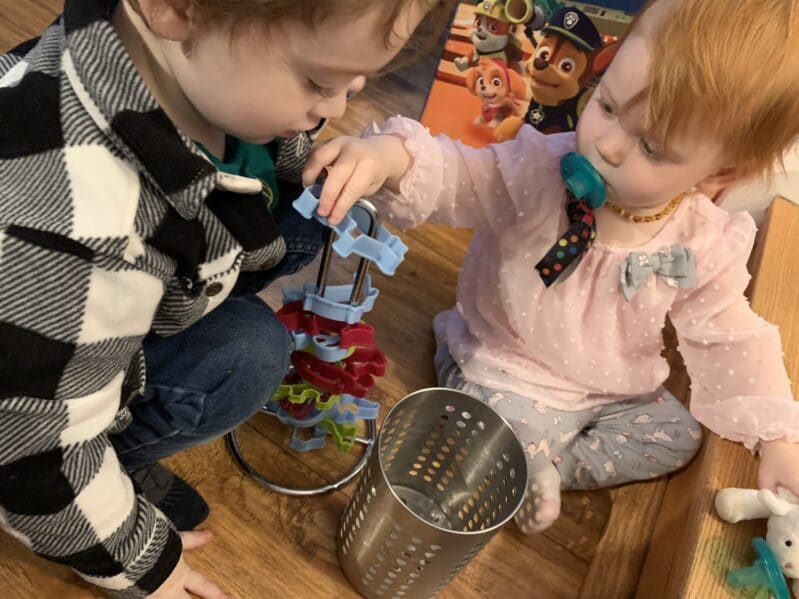
DIY Infant Links Ring Stacking Toy
For This Ring Stacker Toy Activity You Will Need:
- infant interlocking links
- paper towel or toilet paper standing tower
If you are anything like me you have a ton of these infant lots-o-links lying around.
Once baby is sitting up and crawling I have very little use for these.
They were awesome for play mat times and tummy times when my kids were tiny. But now they are just clutter.
Instead of constantly trying to figure out what to do with these chains my kids have very little interest in I decided to repurpose them.
Take all the links apart so they are independent rings for a stacking toy.
Place them on a blanket or in a basket on the floor or in a spot with few distractions.
Place the paper towel tower or toilet paper holder next to them.
Guide your little one to start placing the links on the tower.
Simple!
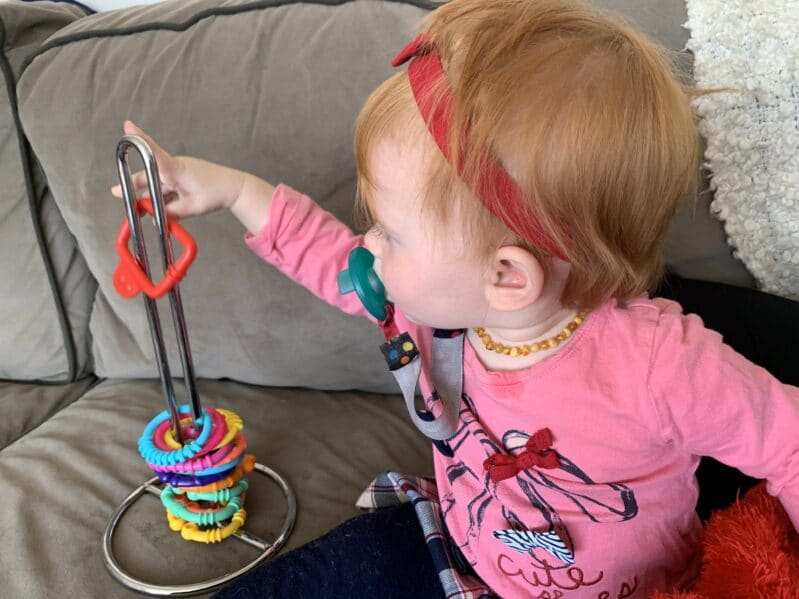
Maisie loved this one so much. She would bring it all over the house to play with it for weeks!
We even took it outdoors and played with it there.
Correction, SHE took it outside to play with many times. That is her favorite part about the dollar store metal one: that she can easily carry it around.
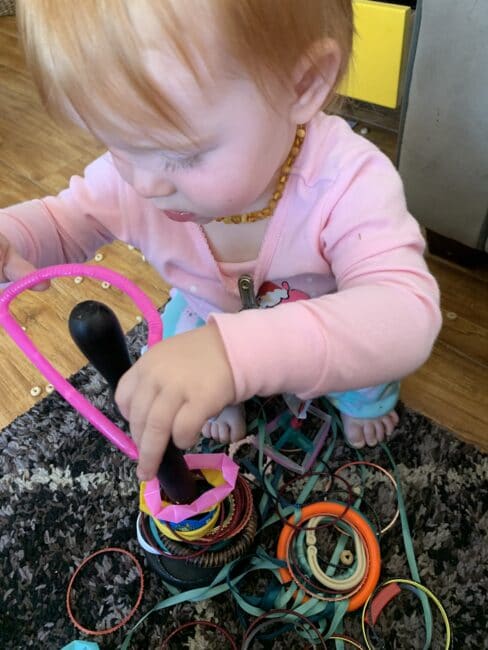
Glow Bracelet Baby and Toddler Ring Stacking Toy
We loved the glow in the dark factor to using glow bracelets for this activity!
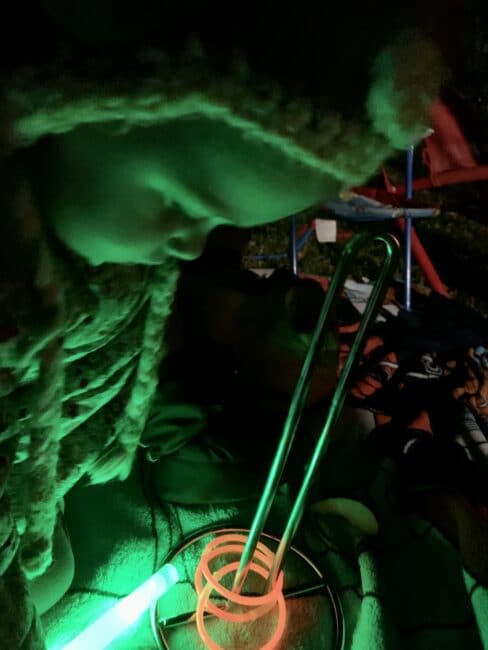
Hard to take pics in the dark for you but there were a few ways we did this activity.
Supplies Needed for Glowing Toddler Ring Stacker Toy DIY
- Glow bracelets (or led light up bracelets)
- paper towel holder tower (or stick a little longer than a foot, or thicker glow wand)
First crack all the bracelets to start the glowing factor and secure into rings or bracelets.
I find a dot of hot glue inside the secure tube helps to stop toddlers from pulling them apart. (If your not planning on walking away and the small tube fastener doesn’t concern you, skip this step.)
I also recommend not letting them see you put them together as that way they won’t get the idea you can take them apart.
We did this one outside after dark to make it most exciting!
If your using a stick or larger glow wand pick a place in the yard to play and push one end into the ground enough that it doesn’t fall over.
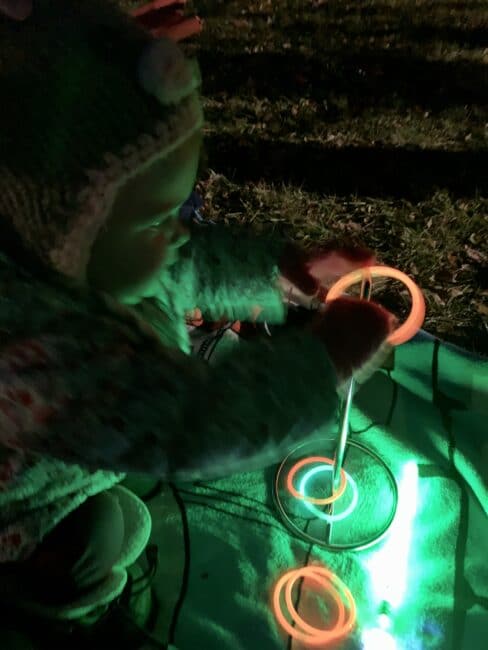
Maisie and Charlie both had a lot of fun with this glowing stacking toy!
We have done it many times now in a variety of ways.
We did a color sorting one with 3 sticks in the ground and stacked them by color. This one was better suited to my older son than Maisie.
Charlie built a megabloks toy tower for Maisie to use for stacking glow rings on.
And a giant version with glow necklaces and stacking them on a firewood log standing upright. (This turned into a bit of a gross motor game as Charlie decided throwing them like ring toss would be more fun. Haha)
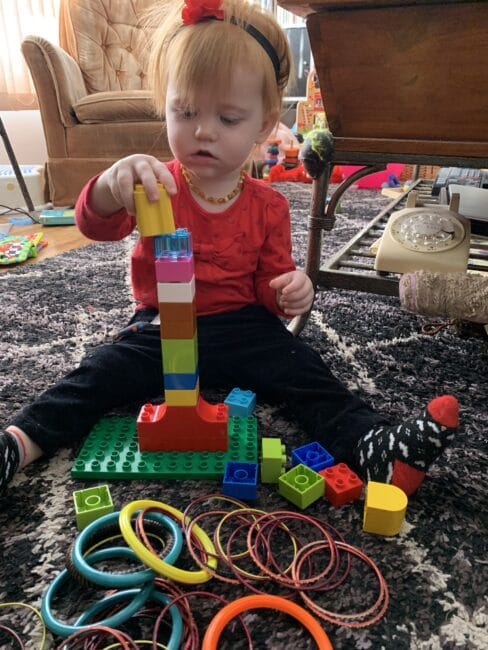
Lego Blocks and Bracelet Stacking Toy Activity
The last stacking rings toy idea I will share with you today is the Lego clocks and bracelets activity we did.
Supplies Needed:
- lego blocks (we used DUPLO size)
- large firm bracelets
We started by gathering as many bangle type bracelets as I could find.
Some from my own jewelry that I didn’t really use anymore and others from dress up supplies.
I also popped out to our second hand store and gathered some extra ones specifically for this purpose. They will be fun to add to the dress up box for later when Maisie is a bit older too.
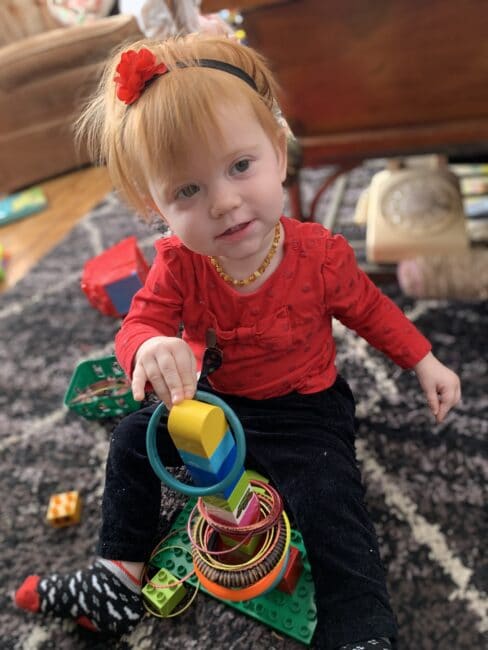
We used a platform piece for the base of the Lego block tower to help it stay upright.
Next we added a few bigger pieces to the base of the tower for even more stability.
Last I built the tower as high as I felt would make it possible but slightly challenging for my daughter to get the bracelets onto.
If you are using smaller lego I would suggest making it 8×8 dots so it’s strong enough to handle being bumped into.
My daughter thought it would be fun to rebuild the tower herself a few times first.
But then she got right into the stacking part of the activity!
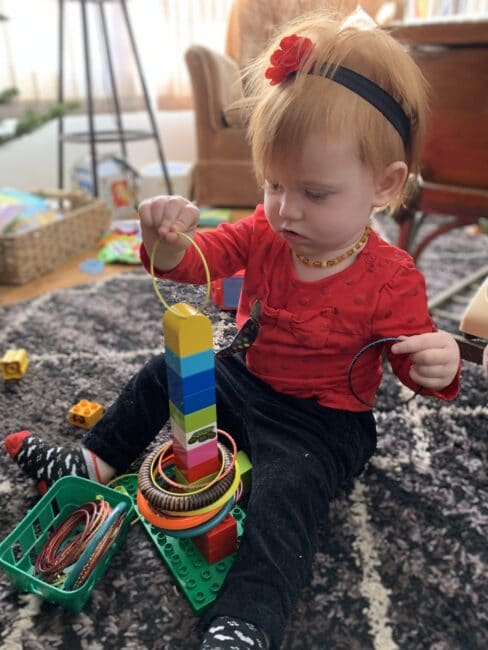
Eventually I decided to make a second tower so she could spend time moving the rings from one tower to the other.
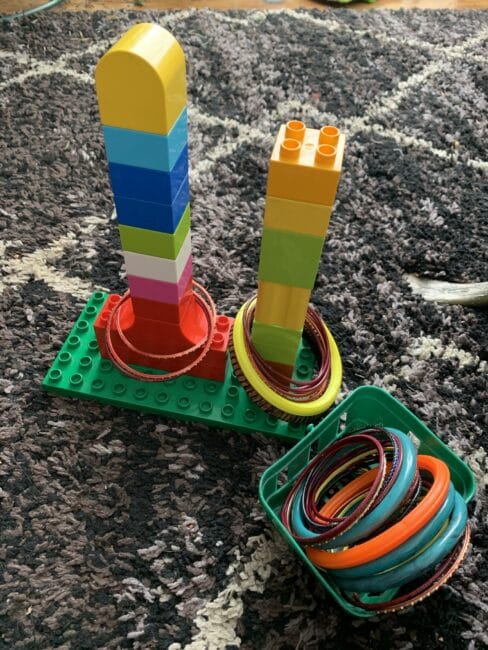
This turned out to be really fun for her.
we have repeated the version of the DIY stacking rings toy many times since.
It has also helped a bunch to keep her busy while big brother plays with his Lego blocks nearby.
More Options for DIY Baby and Toddler Stacking Toy
There are so many DIY options for this baby and toddler stacking toy activity.
The possibilities are truly endless once you start looking around the house for ideas!
You Can Use Any of These Things for the Rings in Your DIY Stacking Toy Activity:
- mason jar lids
- costume jewelry bracelets (avoid glass ones!)
- glow bracelets
- shower curtain rings
- pipe cleaners with beads on them
- wooden curtain rod rings
- infant interlocking links
- plastic chain links
- toilet paper rolls cut into thinner rings
- straws twisted into circles and taped or glued
- cookie cutters
For the Tower in the DIY Stacking Toy You Can Also Use:
- paper towel tower holder
- jewelry tree or rings holder
- use Lego blocks to build a tower
- toilet paper holder tower
- a stick poked into the ground outdoors
- a wooden spoon in play dough or modelling clay
- twist up some pipe cleaners and fold in half to make a strong stick and poke pointy ends into a play dough ball
- glue an empty paper towel roll to a paper plate
Try mixing them up to keep making this activity fresh and exciting!
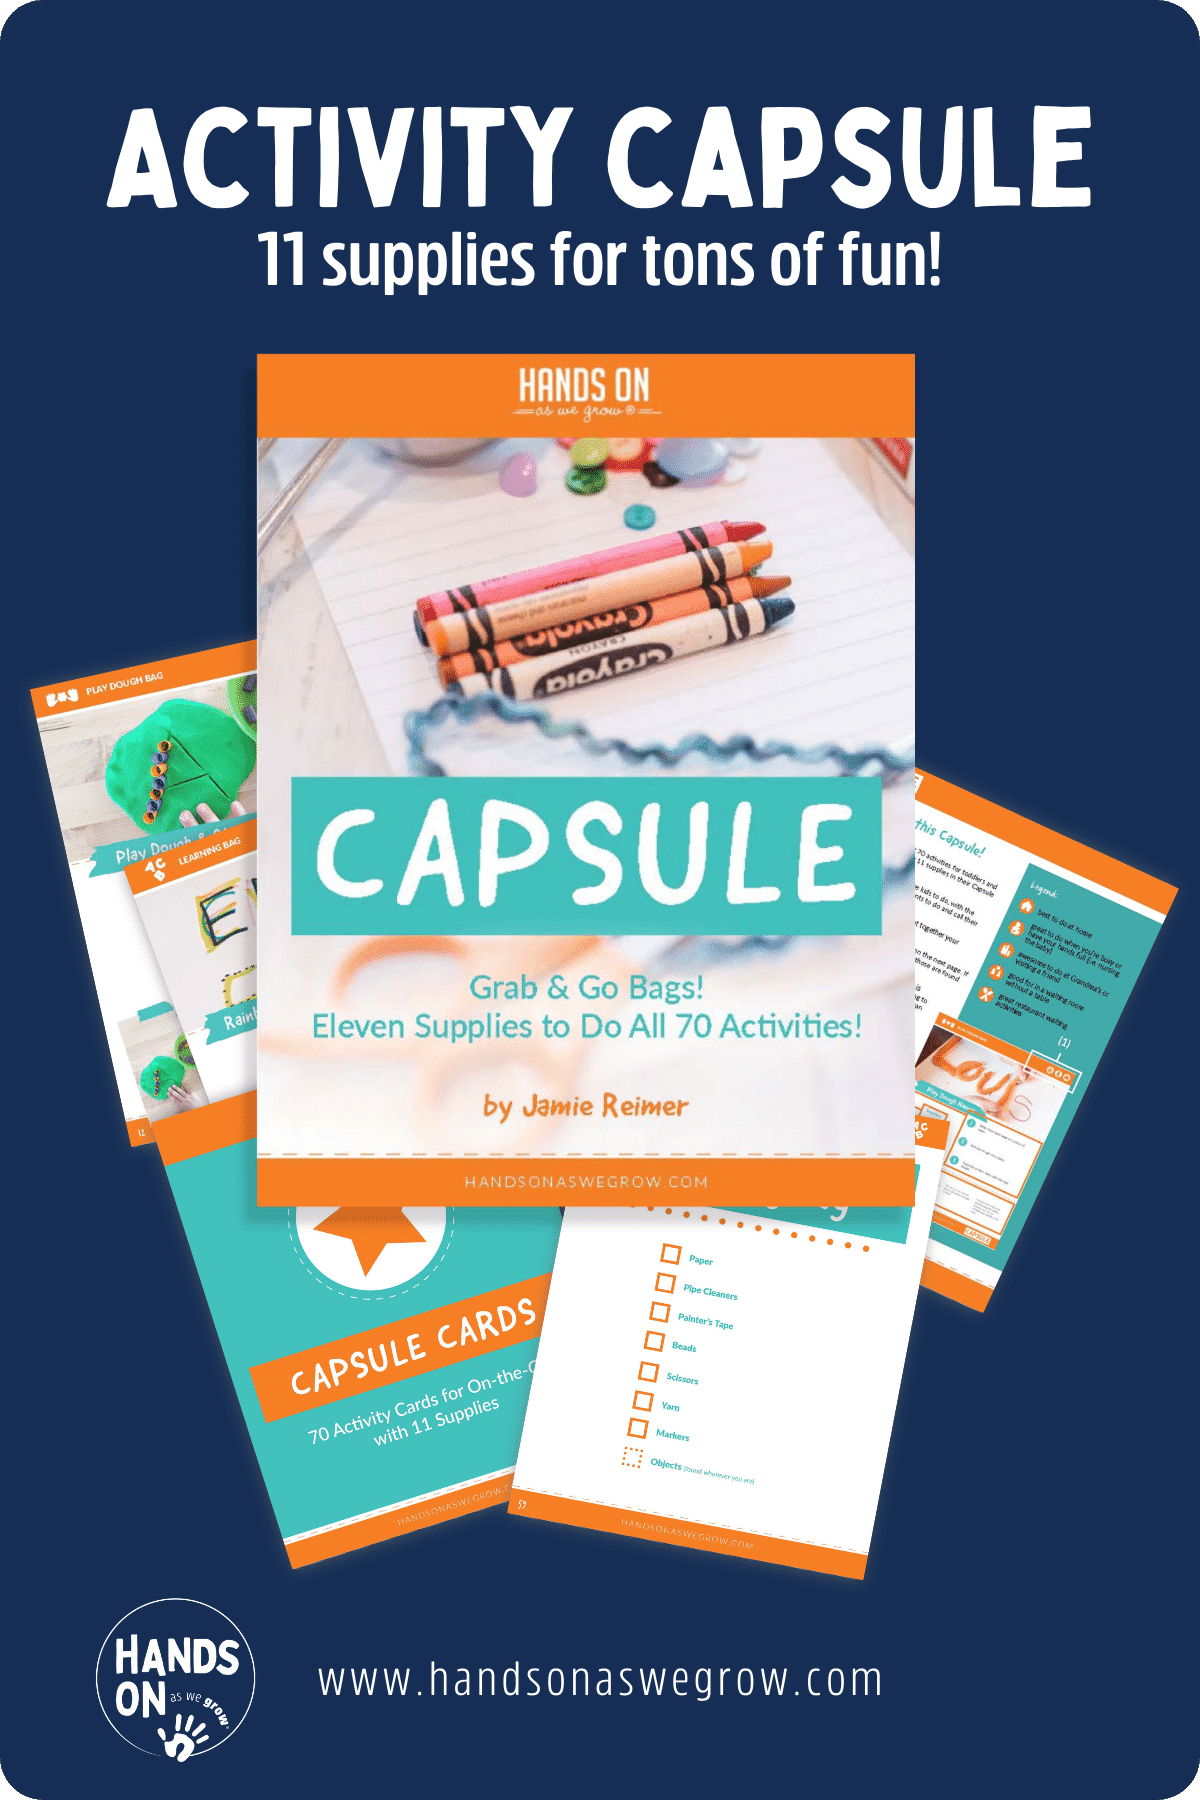
WANT TO SAVE THIS ACTIVITY?
Enter your email below & we'll send it straight to your inbox so you can access this activity later! Plus, you'll get simple activities from us every week!

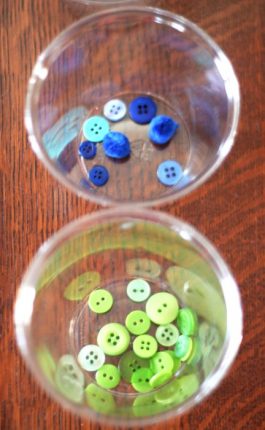 Button Sorting Activity for Simple Color Recognition
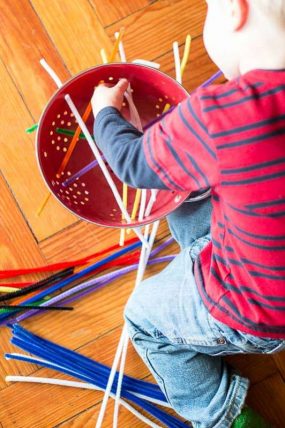 No Prep Fine Motor Pipe Cleaner Activity
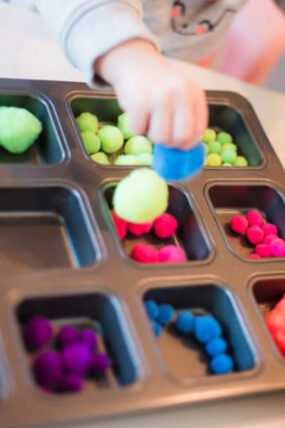 Pom Pom Sorting + Posting Activity for Toddlers
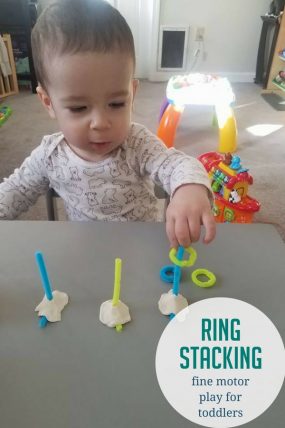 Easy Pipe Cleaner Ring Stacking Activity (with a Twist!)


Leave a Comment