| Please welcome Dusti, my sister-in-law. She has volunteered her own craftiness to share with you today. A super cute wreath for you to make for your own front door. And I bet if you have some preschoolers [or maybe a tad older] that would love to help in some of this process! |
I am a stay at home mom to a two year-old and a one year-old. Free time doesn’t come that often for me, and when it does come, it’s hard not to devote it to cleaning, cooking, or trying REALLY hard to remember what it was that I was doing, before I started doing something else. I’m sure this NEVER happens to anyone else. And, like most people who are tired and can’t remember anything, I find myself on Pinterest A LOT!
I try to justify my Pinterest obsession, by actually making or doing something once a week [give or take]. This usually appeases my creativity and sense of accomplishment.
Now that summer is upon us, I kind of hit a little bit of a wall. It’s nice to be outside, and spending a lot of time indoors just doesn’t appeal to me, or my kids. Besides cooking/baking things I find on Pinterest, I still want and like to do hands on things to be creative. I had almost given up hope and called it a “Summer,” when I found Oleander and Palm’s DIY Spring Wreath!
She has a wonderful tutorial on how to make these super cute wreaths! [And now I’m going to make one for each season!!] She also has a YouTube instructional video on how to do these step-by-step. This video is what every busy mom loves-it’s short, sweet and to the point! Rock on, sista!
Just how EASY is this? Well, I’m the least crafty person I know, so for me to say this is easy, trust me it is!
Materials to make a Yarn-Wrapped Wreath:
- Straw Wreath [You can get these from Michaels, Hobby Lobby, most craft stores]
- Yarn [Your choice of color]
- Felt [Again, your choice of color to go with the wreath] or Burlap or other material for flower making.
- Scissors
- Hot Glue Gun
- Excitement
- And watching the YouTube video
I went with the bigger wreath to cover my door and I picked out a blue color scheme from Design Seeds.
Get comfy and just start wrapping your wreath. [This is the hard part, believe it or not!]

After watching the YouTube video, I wanted to make one of each flower. So, I cut 2″ strips of different colored felt, and I cut out a few different sized circles for the roses.

For the roses, you cut out a circle. I started with a 2″ circle. Start cutting into the circle in a spiral motion, and I made mine kind of wavy cuts to give it a little more dimension. [You can see I already cut the circle in this picture.] Then, just as Jeran shows you in the video, you just wrap it together and when you get to the end, glue it to the bottom piece of the felt! SIMPLE!
[Tip: I only cut one 2″ circle to start with to see how big the finished rose would turn out. After my first one, I saw that I wanted a much larger rose, so I cut a circle that was about 3 1/2 to 4″.]

The poms: You take two 2″ pieces of felt and glue them in half. Then cutdown the unglued side to give yourself the flower loops. Cut out a 2″ circle of felt. Then take the strips and start gluing them in a circle! You’ll use both strips to finish one Pom [and have a little extra left over]. Voila! Pom!

The mums: You take another 2″ piece of material, and cut down one side [make it look like fringe]. Once you’ve cut, just start to roll the mum into a circle, gluing along the way. Once done, fluff out, and done! So easy!
I used some green felt and cut out some leaves and glued and then Ta DA! Done!

Again, this was super simple and can be done in easily just a few hours. [Depending on the wrapping of the wreath]. I’ve gotten so many compliments from neighbors, and friends, that everyone is sure to love it!

Enjoy, have fun, and if you make your own be sure to share it with Oleander and Palm on her facebook page, like I did!
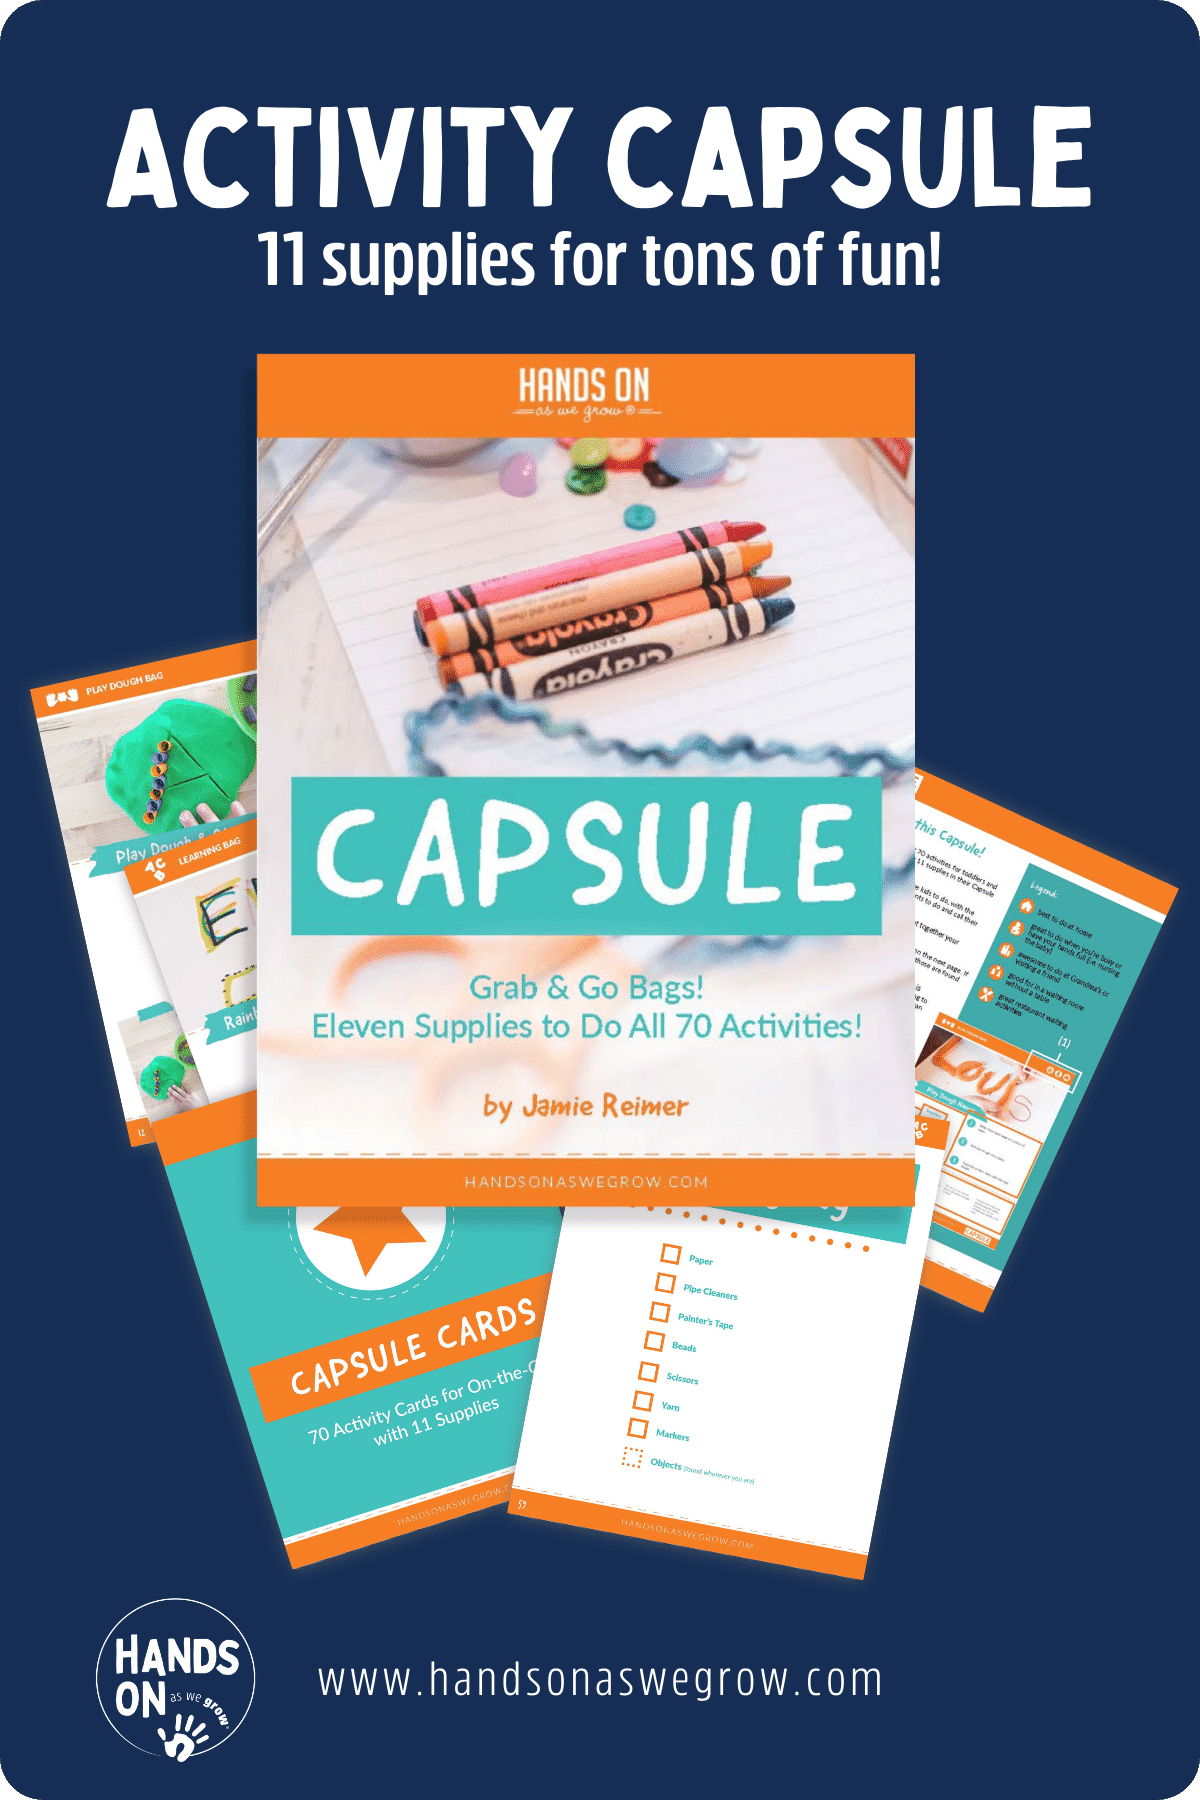
WANT TO SAVE THIS ACTIVITY?
Enter your email below & we'll send it straight to your inbox so you can access this activity later! Plus, you'll get simple activities from us every week!
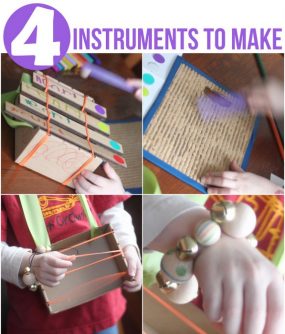 4 Instruments for Kids to Make from Kiwi Crate
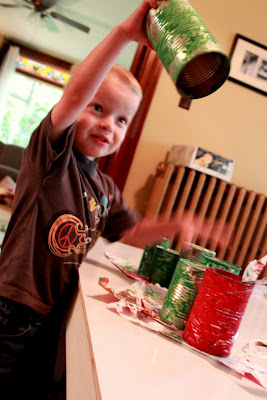 Crafty Art : Eric Carle Caterpillar
 24 Back to School Crafts for Preschoolers with Cutting
 Mini Gift Christmas Ornament Craft
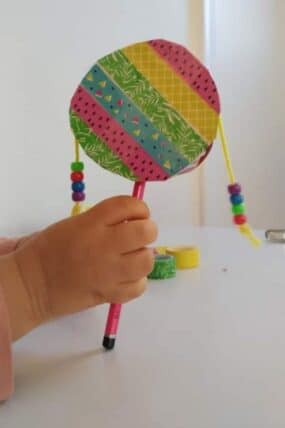


panna says
Hi,
Would you please let me know how long does it take to wrap your wreath?I getting really frustrated as it takes me hours together.because i keep pulling it tight after each wrap.And my fingers are also cut :-( Is there an easy way out?Please advice
Dusti says
It took me about 2 hours total to wrap my wreath. I just wrapped and made sure there wasn’t any white spaces. I glue it towards the end to keep it tight and to finish it off.
Hope that helped.
Michelle says
So cute. Definitely want to try this.
Alissa @ Creative with Kids says
Thanks for the instructions on how to make all the different felt flowers! Nice work!
Susan Case says
I wondered how you make those pretty flowers. Beautiful wreath. Thanks for sharing a DIY.
Bethany @ No Twiddle Twaddle says
What a cute wreath! Thanks for the great directions. I will be pinning this!