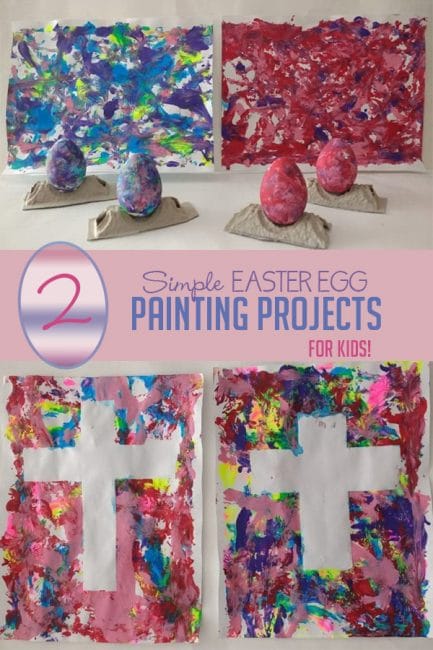
Go beyond standard Easter egg decorating with two fun Easter egg painting projects for kids from Brigitte!
As I was trying to think of a fun painting activity to do for Easter, I remembered how my daughters really enjoyed one painting activity we had done recently. They dipped bouncy balls in paint and rolled them around on a piece of paper.
With that activity in mind, I tried to think of a way to relate it to Easter. What comes to mind when you think of Easter?
Two Simple, Fun Easter Egg Painting Projects for Kids
I thought of crosses and Easter eggs.
Plastic Easter eggs seemed like the perfect replacement for the bouncy balls, and I knew crosses could easily be made using a fun tape resist method we had tried last year on a different project.
I decided to combine tape resist and rolling painting into one fun Easter themed painting.
Messy Fun Easter Egg Painting Tape Resist Cross
To make your own tape resist crosses with rolling eggs, you’ll need:
- painters tape
- computer paper or construction paper
- tempera paint
- plastic Easter eggs
- box or baking sheet with taller sides
- paper plate for a paint palette
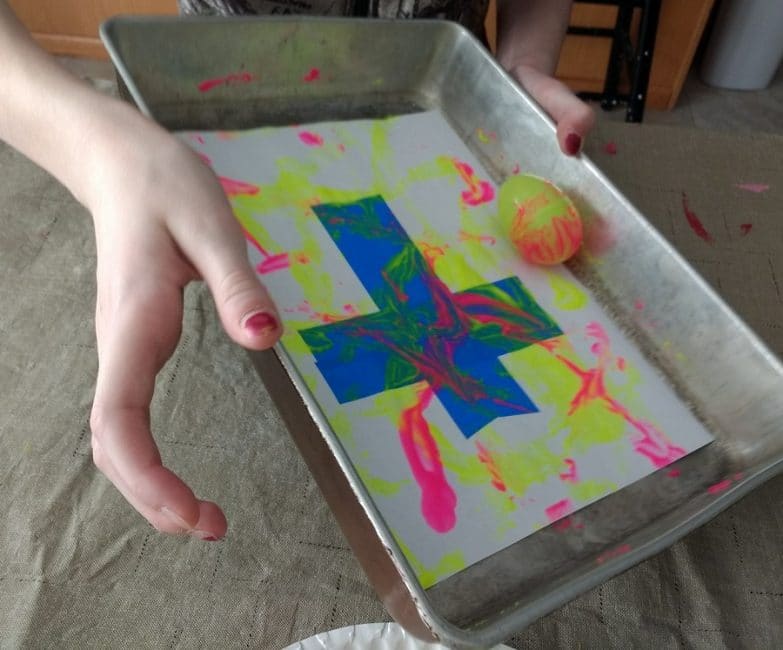
We started by taping painter’s tape to a piece of computer paper in the shape of a cross.
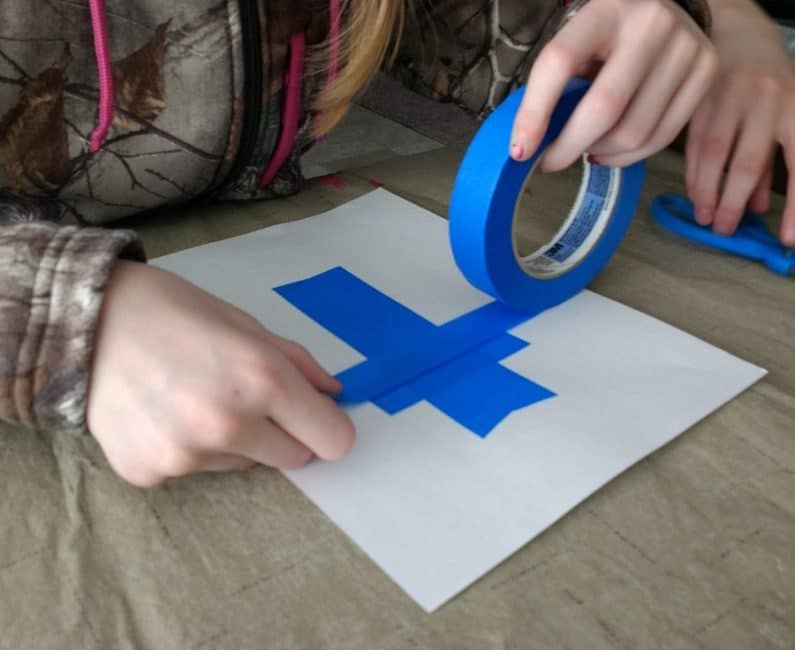
Start by taping a cross, or any other shape, onto your paper. You can make your shape thick or thin, totally your preference.
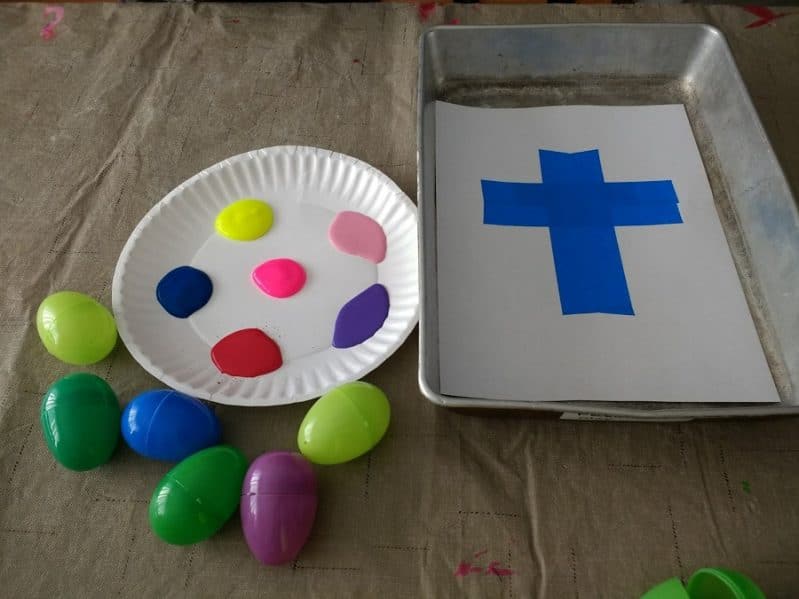
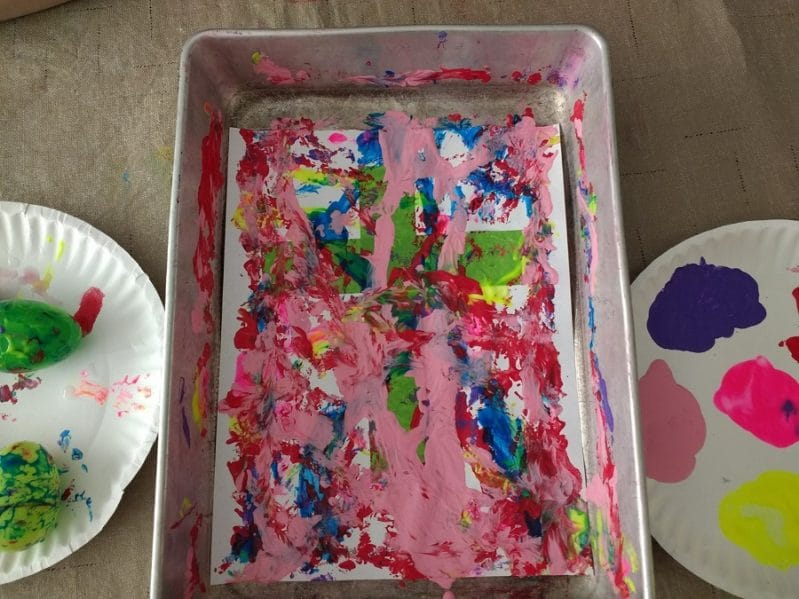
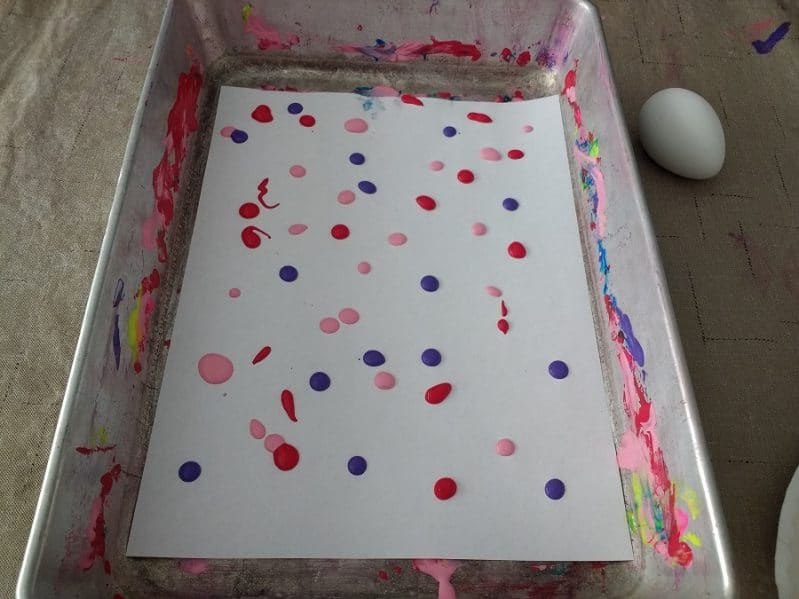
Once your shape is taped out, place it into your box or baking tray. Add your paint onto the paper plate.
Try making marbled Easter eggs with this super simple idea!
Set out several plastic Easter eggs. Try to find some in a few different sizes and see if the paint rolls on differently.
My daughter dipped the entire plastic egg in the paint and then rolled it around on her paper in the cake pan.
We discovered this way was quite messy since she couldn’t grab the plastic egg without getting her hands covered in paint.
Roll and Decorate Easter Eggs Painting Project
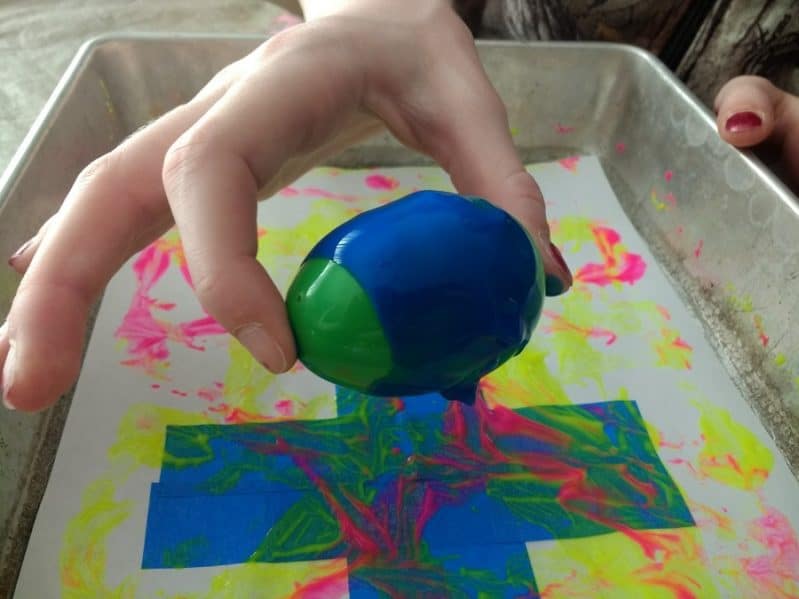
Then, she decided to dip only the bottom half of a plastic egg in a different color paint before rolling it on her paper.
This worked okay, but she had a hard time holding on to the unpainted part of the plastic egg because it was a little slippery.
After that, she tried rolling only the center of a plastic egg in the paint. This seemed to work the best, and she continued to do it this way for the rest of her eggs and colors.
The plastic eggs didn’t roll well when the paint was really thick on them. When they were thinly coated with paint, they rolled around much better.
One plastic egg split open as it was being rolled around, which created a unique pattern.
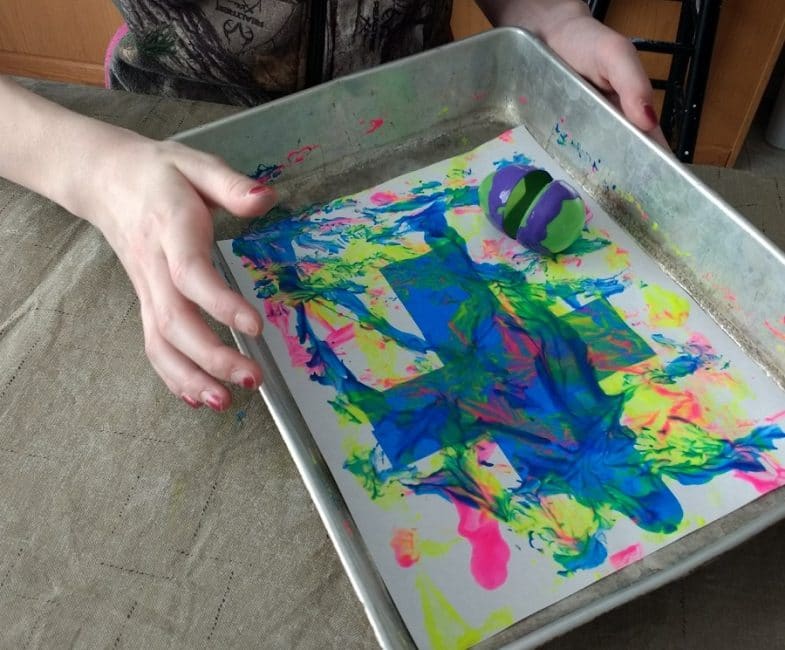
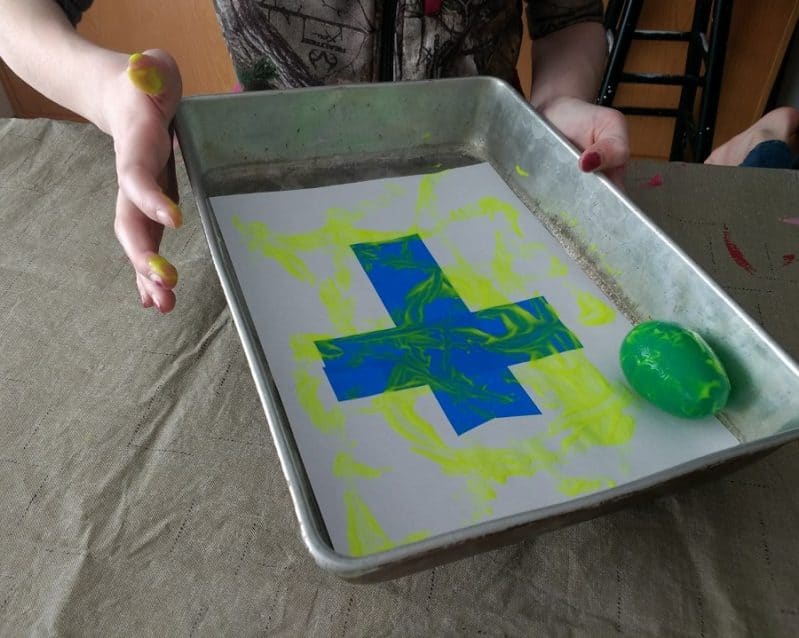
She commented on how she was creating green by using the yellow and blue paint.
By the time she finished using all of the colors she had chosen, we could barely see the cross through the paint.
I quickly rinsed the plastic eggs in water and dried them so my other daughter could have a turn since I only had one cake pan to use.
I was surprised at how easy it was for the paint to come off of the plastic eggs.
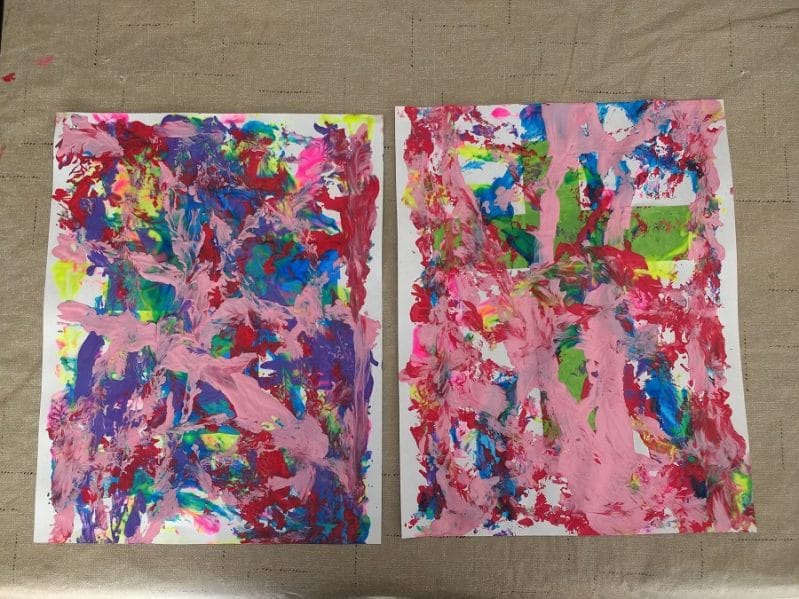
My daughter had decided to use green painter’s tape instead of the blue painter’s tape her sister had used.
We removed the painted papers from the pan when they were done and let them dry.
Decorate for Easter with Creative Artwork
I was a little worried I would tear the paper as I peeled off the painter’s tape since they had so much paint on the papers.
The backs of the papers looked really neat. We could clearly see the cross even without removing the tape, so I decided if the paper started to rip, we would just hang them up in our window with the back facing in.
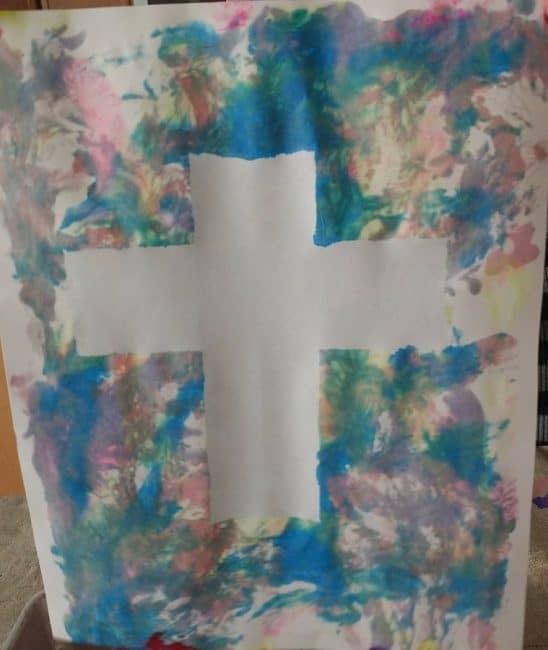
I peeled the tape off of the papers after letting them dry for a little while.
Bring colorful Easter fun into the kitchen with a simple recipe for DIY Easter egg pancakes!
The green painter’s tape peeled off without any issues, but the blue painter’s tape didn’t come off as easily. That paper did tear in a spot on the edge of the cross.
I think they still turned out quite well.

Bonus Easter Egg Painting Project for Kids!
My grandma had recently given my daughters a couple of packs of decorating Easter eggs she had purchased last year after Easter for 10 cents a dozen.
For this project, you’ll need:
- plaster or wooden Easter eggs
- paint
- computer paper
- box or rimmed baking pan
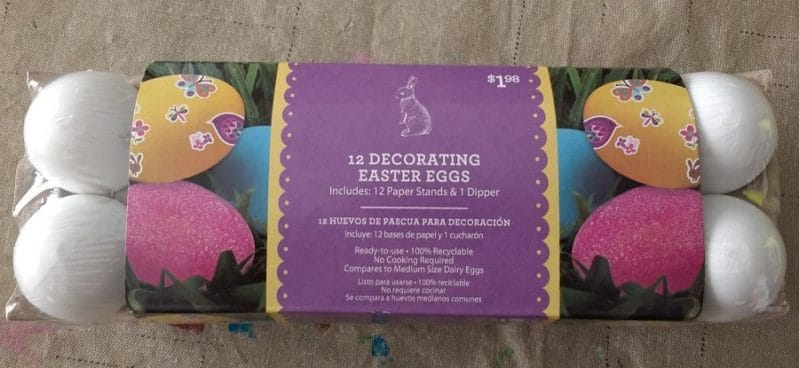
We already had the paint out, and we were working on Easter projects, I thought it would be a good time to decorate the eggs.
Since we were already doing a roll and paint activity, we decided to stick with this strategy. I put down a paper into the cake pan and put dots of one color paint.
We started by rolling the plastic eggs one at a time in separate colored paints which didn’t make them very colorful. It was time to change our painting tactic.
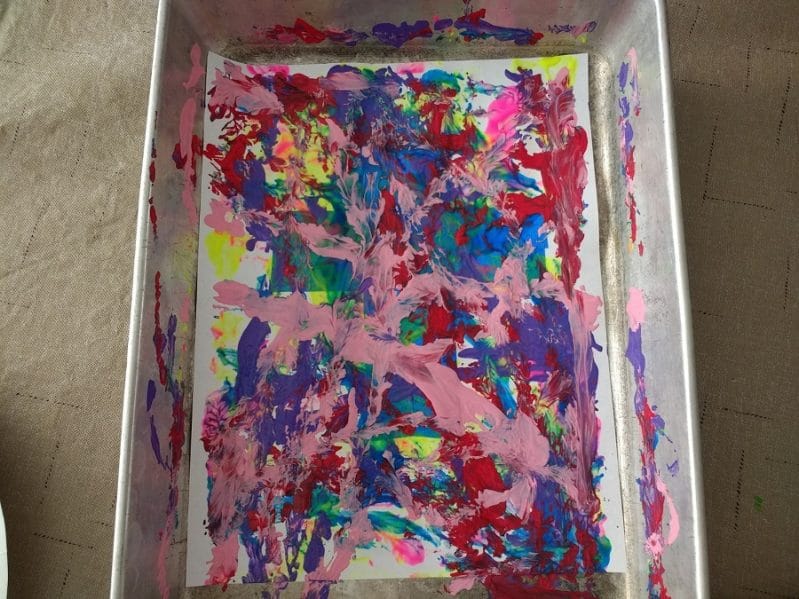
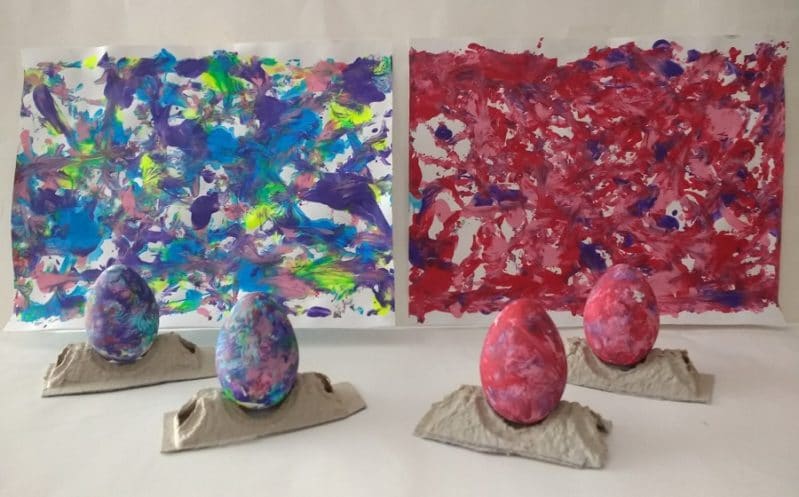
I thought about the way that we mixed different colors by rolling the eggs. We put dots of different colored paints on the paper contained within the cake pan to decorate these eggs.
My daughter put two of the decorative eggs in the pan at the same time. She moved the pan back and forth multiple times to create an interesting pattern on the paper and the eggs.

After she was done, my other daughter tried it using the same technique but different colors.
My daughters had fun decorating the eggs, and the end results were quite unique.
What is your favorite Easter painting activity? Share your ideas with our community!
WANT TO SAVE THIS ACTIVITY?
Enter your email below & we'll send it straight to your inbox so you can access this activity later! Plus, you'll get simple activities from us every week!
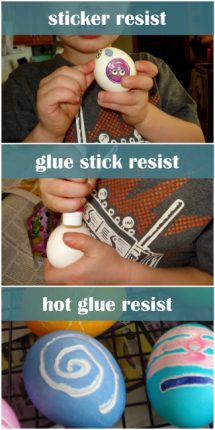 3 Types of Resist for Easter Egg Decorating
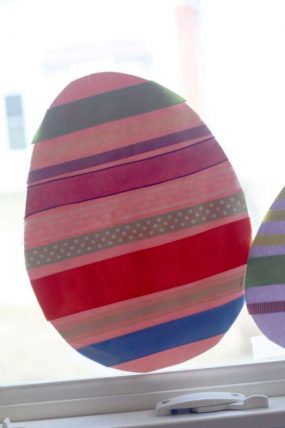 Easy Easter Egg Craft to Make Use of Your Ribbon Stash
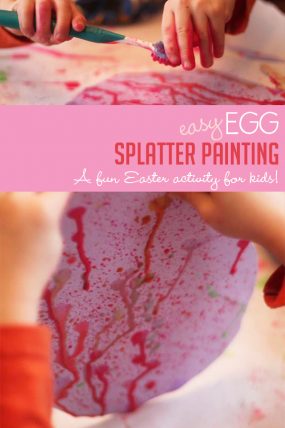 Easy Easter Egg Splatter Painting Activity for Kids
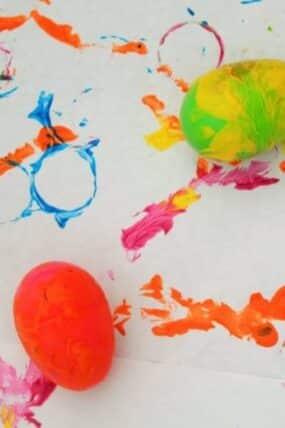


Donna says
Very fun project.