4th of July
Crafts
Fine Motor
Math & 123sPreschoolers4 Comments
Celebrate the USA with a fun DIY kid-sized American Flag for the Fourth of July!
The American flag is awesome for learning!
Just in this one activity we covered:
- patterning: red/white/red/white
- counting: how many stars and stripes?
- fine motor skills: taping, cutting, clipping, and more!
In one fireworks fueled moment, I even contemplated adding measuring to this activity. But I decided not to push it too much.
DIY a Festive Kid-Sized American Flag for Fourth of July!
This activity is super simple and uses really basic supplies. I bet you already have a bunch in your supply closet!
To DIY your own American flag, you’ll need:
- a sample – either a real US flag or a printed picture
- yarn or heavy string
- clothespins
- red and white crepe paper
- blue scrapbook or construction paper
- white scrapbook or construction paper
Count & Pattern with the Flag
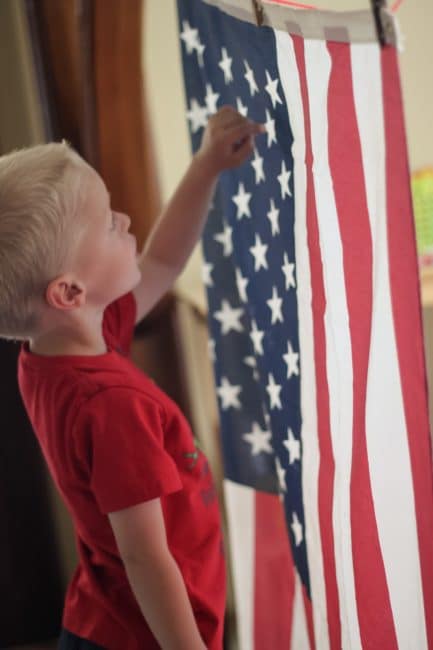
Take a peek at your sample US flag. Either a real flag or a printed/digital picture will work.
I had grabbed our flag from the porch to save it from getting ripped to pieces. For this activity, I pulled it out and put it on display at kid-height.
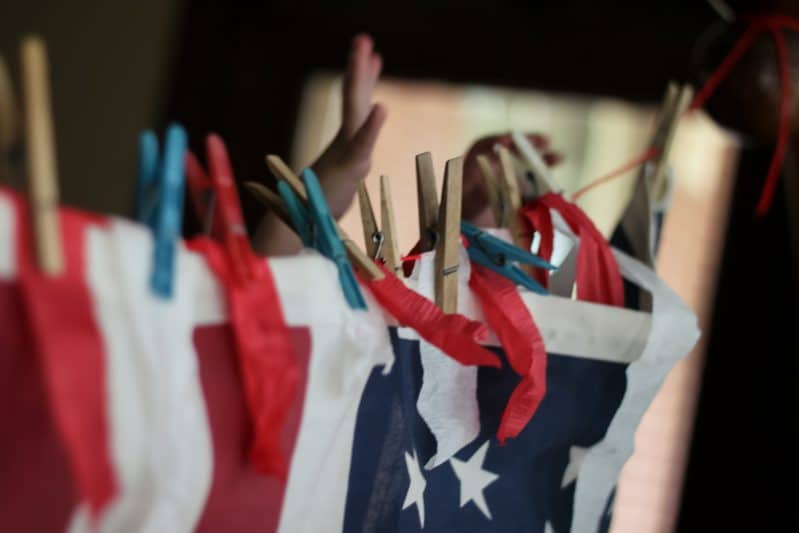
First, I tied a piece of yarn up as tight as I could across an open doorway. If I did this again, I’d probably use a heavier piece of string or twine because our flag is quite heavy.
Then, I hung the flag with clothespins. If you have a clothesline, it would be awesome to do this outside to have it blow in the wind!
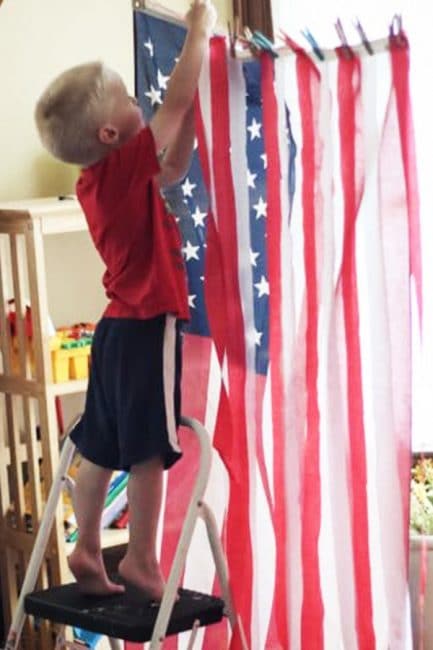
I pulled out the step stool for Henry to get a closer look.
I just left it like that for a bit as Henry observed it. Counting the stars as best he could and mostly just being excited about seeing it in the house.
Once we had talked through all the elements of the flag – stars and stripes – we got to work creating our own version!
Easy DIY Fourth of July Activity for Kids
We kept our real flag on display so we could peek at it for ideas and inspiration.
Remember: You don’t actually need a real American flag for this activity. Print off a picture of one or show one on your tablet device.
Note: Absolutely no damage was done to the American flag in this activity!
I didn’t have crepe paper on hand and I really (really) didn’t want to go buy some just for this simple activity.
Since we were missing crepe paper, I was tempted to make a small flag craft on construction paper. But I really wanted to make something big with the kids so they’d get more into it and not think of it as a craft.
So, I gave in and ran to the dollar store and bought crepe paper rolls, for $1 each. Not the end of the world, I guess.
Make sure your hands-on supply closet is fully stocked – steal my activity resources!
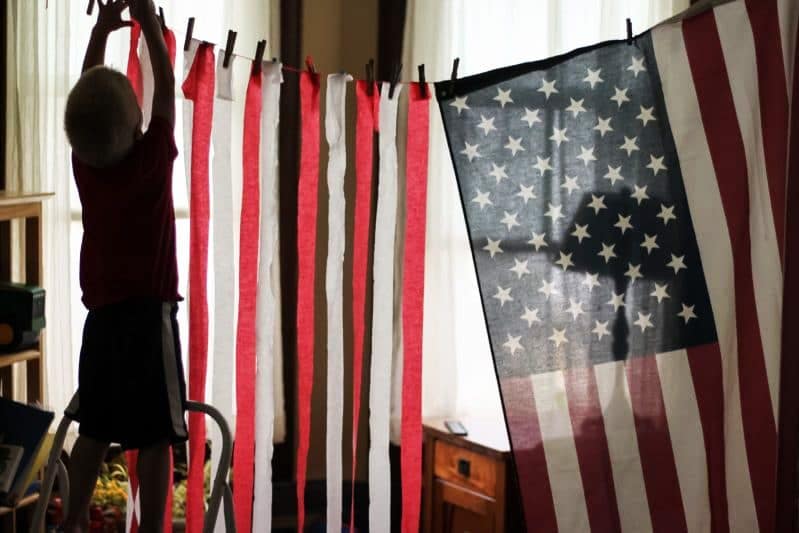
With newly-purchased crepe paper on hand, Henry got to work making his very own American flag. We left our flag up to serve as the backdrop to the kid-made version, but you could certainly separate the two for an extra challenge!
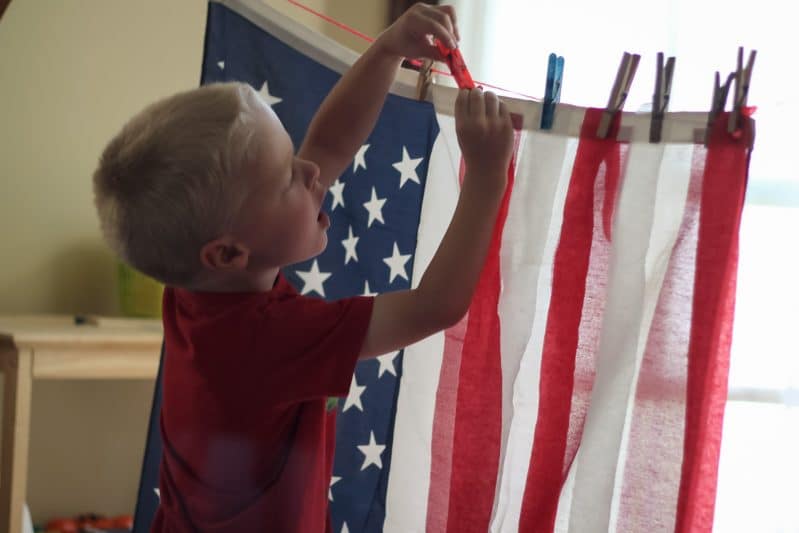
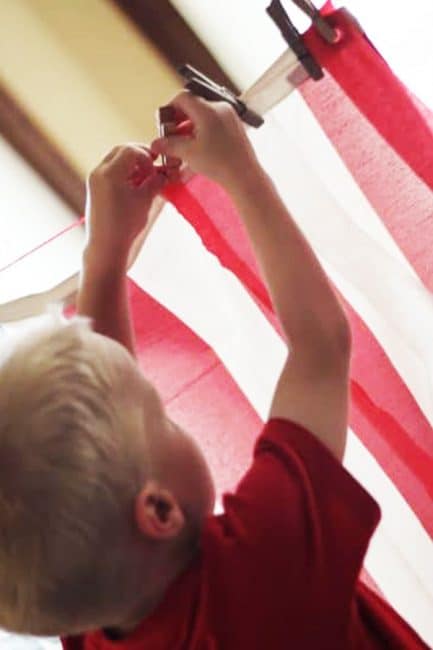
First, he clothespinned one end of the crepe paper at the top to the flag and string, matching colors as he went along. He let the crepe paper hang loosely to the floor where he cut it at the bottom.
This is where I thought measuring could have come into play by pre-measuring his strip of crepe paper. Henry outsmarted me with his way of dangling the crepe paper to the floor, so I let that go.
He worked his way across the flag, one stripe at a time. We talked constantly about the pattern and what color stripe was coming next.
Patterning Your American Flag Stripes
Henry was doing awesome. Once we got to the block of blue, we started getting into some confusion.
Henry still got the red and white stripe pattern right, but his spacing of the stripes got way off. He was ready to put the last stripe space-wise, but based on our actual flag there were still three left to place!
We went back and counted all the crepe paper stripes again, just to make sure we had it right. And we discovered that some of our stripes had gotten mixed up.
Turns out, having the actual flag behind where we were pinning the crepe paper wasn’t such a perfect plan.
After a minor meltdown, we started up again. First I separated the real American Flag with our kid-made one, hanging them side by side.
I had Henry count the stripes again to find that the real American Flag had thirteen stripes. We had made twelve already, so we only had one left!
Phew. That drama was over.
But what color came next? Could he figure it out without the crepe paper on top of the flag?
No problem! Of course, red came after white!
Getting the pattern right was the hardest part. We checked a few times to make sure we had it just right.
Adding Stars to Your Stripes
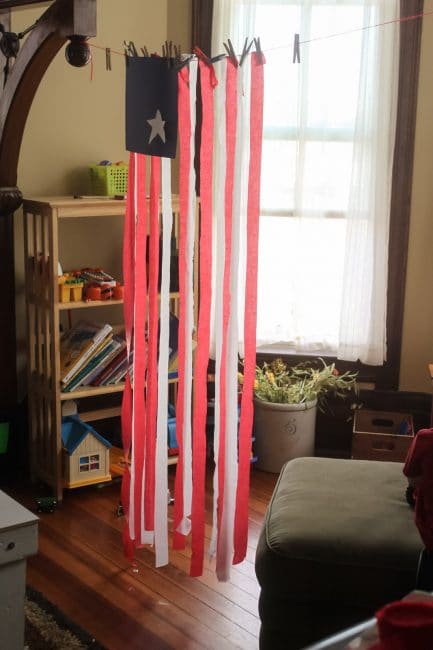
At last, it was time to add the blue square with a piece of paper. We pinned it up with more clothespins so the crepe paper wouldn’t fall down.
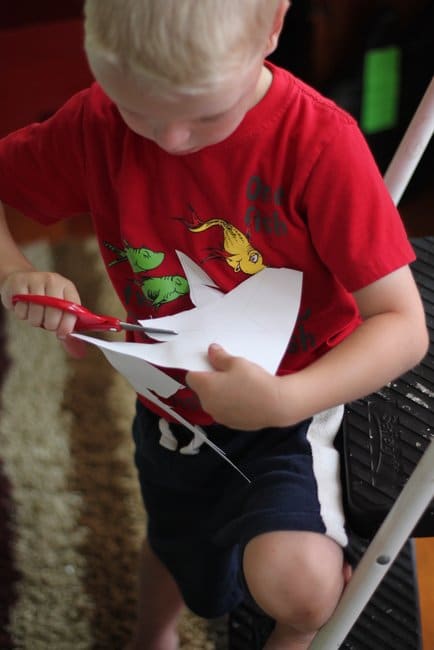
I drew a few stars on a piece of paper for Henry to cut out. I told him he could cut as many as he liked for his flag.
He decided one was all he wanted. I don’t blame him, cutting stars is a pain!
Since I already had the blue paper hung up, we just used a glue stick quick to slap the star on it. You could also pre-stick the stars before you pin up the paper.
If your child isn’t into cutting or is not quite ready for scissors, use star-shaped stickers instead! Going with stickers over hand-cut means that you can totally increase the counting and patterning practice.
That’s it! Your own American Flag that you and your child just made together!
Now run and play in it until the 4th of July!
Do you have any cool Fourth of July crafts or activities? Post a picture or share your idea with us!
WANT TO SAVE THIS ACTIVITY?
Enter your email below & we'll send it straight to your inbox so you can access this activity later! Plus, you'll get simple activities from us every week!
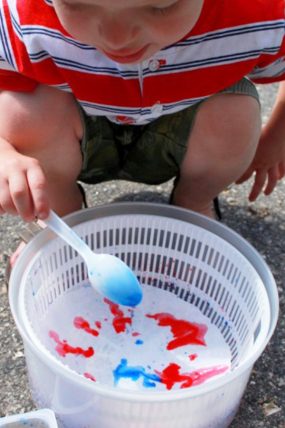 Classic 4th of July Spin Art Streamers Craft for Kids
 Turn Leftover Kids Art into Streamers
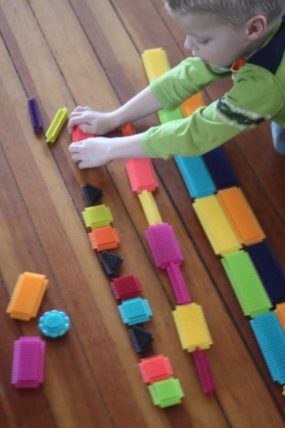 Learning Patterns with Blocks


Leave a Comment